Last updated: November 19, 2026
Quick Answer: Low histamine cooking temperature is usually about getting food safely cooked in 20 to 40 minutes, then serving or chilling it promptly; it is not about one special heat setting that removes histamine. In this Low Histamine Cooking Temperature Guide: Safe Heat, Simmering, and Reheating, the goal is to cook gently enough to keep meals appealing, then get them to a safe internal temperature quickly and avoid long, warm holding times that can make leftover food a worse fit for histamine intolerance.
The temperature rule that actually helps
The useful rule is simple: cook to the right internal temperature for safety, then stop using heat as a storage strategy. For low histamine cooking, temperature is a control for food safety and for keeping food from sitting in the danger zone, not a way to “reset” an ingredient.
That distinction matters with chicken breast, white rice, fish, and leftovers. A chicken breast still needs to reach a safe internal temperature, often checked with an instant-read thermometer in the thickest part. A saucepan on the stovetop can hold a soup at a low simmer, but that does not make it safe to leave on the back burner for hours. White rice can be cooked cleanly in a pot or rice cooker, then cooled and refrigerated promptly if it is not being served right away.
For a reader trying to make real meals, the question is not “What temperature kills histamine?” Histamine is not handled like a pathogen. The real question is “What temperature keeps food safe, and how do I avoid the time-and-temperature mistakes that make leftovers risky for me?” That is the decision tool this guide uses.
A good place to anchor the rest of the page is the food-safety logic used by professional kitchens: keep hot foods hot enough, cold foods cold enough, and don’t let cooked food linger. For general food safety guidance, the USDA’s Food Safety and Inspection Service and the FDA’s Food Code are useful references. See the USDA’s Food Safety and Inspection Service at https://www.fsis.usda.gov/ and the FDA Food Code at https://www.fda.gov/food/fda-food-code/food-code-2022.
What heat changes, and what it does not change in low histamine cooking
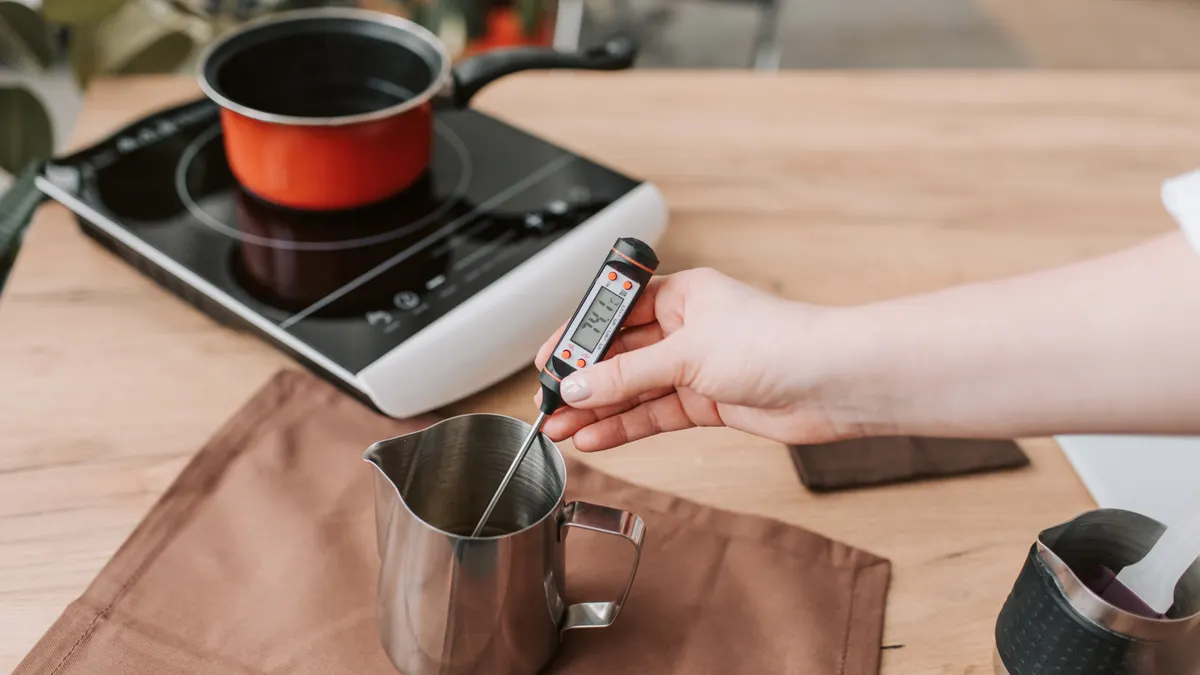
Heat changes doneness, texture, and safety margins. It does not guarantee a low-histamine result. That is the part generic advice often gets wrong.
A gentle oven setting around 300°F to 350°F can cook many foods evenly without hardening the outside before the center is done. A skillet over medium heat can give you control over browning, but browning is a choice, not a requirement. A saucepan over a low flame is good for broth-based dishes, sauces, or grains, but a bare simmer is different from a rolling boil. A simmer has small, lazy bubbles; a boil is vigorous and can reduce liquid fast.
The practical trade-off is this: higher heat shortens cooking time, but it can also dry food out, scorch fats, and make it harder to hold a dish at a steady temperature without overcooking. Lower heat is kinder to texture, but if it drags on too long, the food spends more time in the range where quality drops and leftovers become less reliable. That is why a slow-cooked meal is often less suitable for histamine intolerance than a fresh stovetop meal finished in 20 to 40 minutes.
For low histamine cooking, I would take the following position: use the lowest heat that still gets the food to a safe finish in a reasonable time. That is the right fit for chicken breast in a skillet, fish in an oven, and rice in a saucepan. It is not the right fit for someone who wants to park a pot on low heat all afternoon and assume the result will be gentler on the body.
How to cook safely with stovetop, oven, saucepan, and skillet
The safest low histamine routine is to cook fast enough for food safety, then serve or chill it promptly. Here is the procedure that works across most weeknight meals.
- Choose the method before you turn on the heat. Use a skillet for thin cuts, a saucepan for grains and sauces, and an oven for larger pieces such as chicken breast or fillets of fish. The method should match the thickness of the food, not your mood.
- Preheat the oven or pan to a moderate setting. A skillet usually does better at medium heat than high heat, while an oven in the 325°F to 375°F range gives steadier results than a blast at the top setting. The food cooks through without burning the outside.
- Cook to an internal temperature with an instant-read thermometer. Insert it into the thickest part of the chicken breast or fish and wait for the reading to stabilize. The result you want is certainty, not guesswork.
- Watch the surface as much as the clock. If the pan is smoking, the heat is too high. If a saucepan is boiling hard, reduce to a steady simmer. The food should bubble quietly, not churn.
- Serve right away or move the food out of the heat zone. If you are not eating it immediately, portion it into shallow containers so it cools faster. The result should be a hot meal on the plate or a fast path to refrigeration, not a pot sitting on the stove.
Two practical examples make this concrete. A chicken breast in a skillet often benefits from medium heat, a quick sear, then a lower finish under a lid or in the oven. White rice in a saucepan should move from a boil to a covered simmer once the water is absorbed, then come off the heat as soon as it is done. Fish is usually better in the oven or a covered pan because it cooks quickly and dries out fast if the heat is too aggressive.
This is where the instant-read thermometer earns its keep. It removes the temptation to keep cooking “just a little longer,” which is how a meal turns dry. It also keeps you from undercooking and then trying to rescue the dish by reheating it later, which is a poor trade for anyone sensitive to leftovers.
Simmer vs boil: the difference that matters most
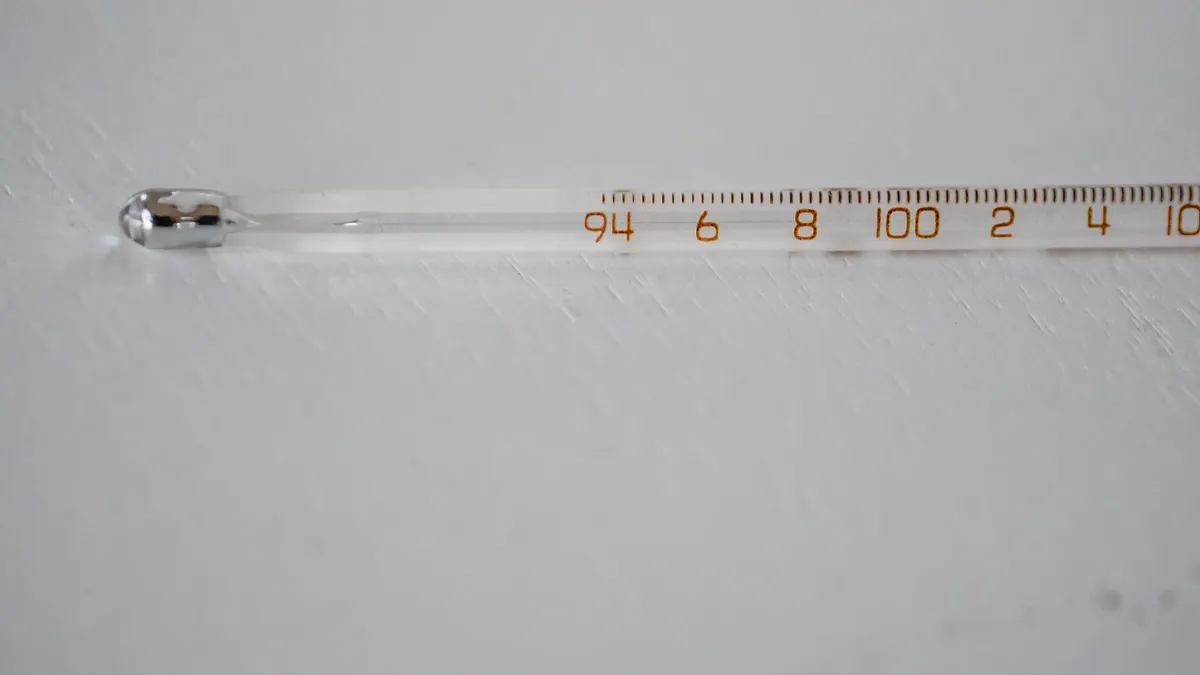
Simmering is usually the better choice, and boiling should be used only when the recipe truly needs it. A simmer keeps liquid moving gently; a boil drives it hard and can break apart delicate foods.
For low histamine cooking, the reason to favor a simmer is simple: it gives you control. A saucepan of soup, broth, or rice cooked at a low simmer is less likely to scorch at the bottom, less likely to reduce too quickly, and easier to finish cleanly. That matters if you are cooking something you plan to eat fresh, because the quality loss from overboiling can push you toward saving and reheating leftovers instead of eating the dish as intended.
Boiling has its place. Pasta, some vegetables, and certain blanching steps need a full boil for a short time. But many people accidentally keep a boil going after the job is done. That costs you texture, can make proteins tough, and often leaves you with a pot that needs more fixing later than it should.
A simple rule helps: if the liquid is making large, aggressive bubbles across the surface, lower the heat until you see only a few bubbles rising steadily. That is a simmer. On a stovetop, this usually means turning the knob down from high to medium-low once the pot reaches temperature.
One more useful distinction: a simmer is a cooking tool, not a holding tool. A pot can sit at a low simmer for a short time while you finish another part of dinner. It should not sit there for an hour because dinner is “almost ready.” If the meal is not moving to the plate within a reasonable window, the plan needs to change.
Reheating limits for low histamine meals
Reheating is a problem when it becomes a repeat cycle, not because every reheated meal is forbidden. The safer pattern is to cool food promptly, store it cold, and reheat only once before eating.
This is where low histamine cooking often breaks down. A person makes a batch of chicken breast and white rice, leaves it out while answering messages, refrigerates it late, then reheats it the next day, then warms the leftovers again. Each step adds time. That is exactly the kind of pattern that makes leftover food a poorer fit for histamine intolerance.
Use a food thermometer when reheating meat, fish, or mixed dishes with protein in them. Reheat until the center is steaming hot, not just warm at the edge. In food-safety terms, the target for leftovers is typically 165°F for reheating, though the exact need can depend on the food and local guidance. If that sounds strict, it is because reheating is about minimizing risk, not salvaging taste.
The trade-off is real: aggressive reheating can dry out chicken breast, split a sauce, or turn rice gummy. That is why smaller portions matter. Reheat only the amount you will eat, and use lower heat for longer rather than blasting a skillet or microwave on maximum. A covered saucepan on low heat can warm a soup evenly. An oven set modestly can revive a baked dish without scorching the top. A skillet works for a small portion, but only if you add enough moisture and watch it closely.
This section is the point where honesty matters most: if reheated leftovers consistently bother you, the answer may be to cook smaller meals more often instead of searching for a perfect reheating trick. That is a planning issue, not a failure.
Food safety for meat and fish without overcooking them
Food safety for meat and fish depends on internal temperature, not on how long the outside has browned. For chicken breast and most poultry, the core needs to reach a safe temperature; for fish, the center should become opaque and flake easily, with an internal temperature checked by thermometer when you want certainty.
An instant-read thermometer is the cleanest tool here because it ends the guesswork. Insert it into the thickest part, away from the pan or bone, and wait for the reading to settle. With chicken breast, this is the difference between dry and done. With fish, it prevents the common mistake of cooking until it falls apart in the pan, which often means it has gone past the point of good texture; if you are unsure about doneness, consult a food-safety professional or follow USDA guidance rather than relying on appearance alone.
A skillet is useful for thin cuts and fast searing, but it can overshoot quickly. An oven is kinder for thicker pieces because the heat surrounds the food more evenly. If you are using a saucepan for a stew, keep the simmer steady and avoid repeated hard boiling. In all cases, the goal is a clean finish, not extended heat.
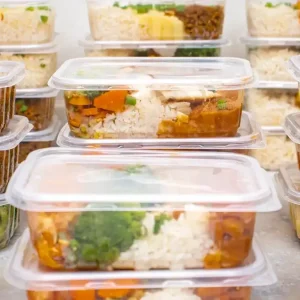
There is also a storage angle. Once meat or fish is cooked, it should not sit on the counter waiting for a side dish to catch up. Plate it, serve it, or chill it. If the meal is for later, portion it into shallow containers so it loses heat faster. That small step does more for a low histamine routine than most temperature tweaks do.
This is the right place to say who this guide is not for: it is not for someone looking for a way to make old leftovers “safe” by heating them hotter. Heat can help with safety, but it does not turn time-stressed food into a fresh meal.
A practical temperature routine for weeknight cooking
The easiest low histamine routine is to decide the finish line before you start. That means choosing the pan, setting the heat, and planning the serve or chill step at the same time.
Start with one protein and one starch. Chicken breast in a skillet or oven, plus white rice in a saucepan, is a good example because both are predictable. Keep the stovetop at medium rather than high unless you are bringing water to a boil. Use the oven in a moderate range, not at the hottest setting. Check the protein with an instant-read thermometer and pull it when it is done. Let the rice finish on a low simmer, then remove it from heat and fluff it instead of keeping it warm indefinitely.
Because the temperature check matters most at the end, the simplest way to cut guesswork is to use the thermometer before you assume the pan is right. From there, build the habit around timing. If dinner is ready, eat it. If not, get it into the refrigerator quickly. A low histamine kitchen is usually less about special ingredients than about disciplined timing and controlled heat.
The biggest mistake is treating temperature as the whole answer, and if you are not sure how to balance heat with timing for a medical diet, consult a registered dietitian or other qualified professional. A meal can be cooked perfectly and still be a poor fit if it sat on the counter too long, was reheated twice, or was left on a low burner for an hour. The right temperature is necessary, not sufficient.
For a broader setup around tools, timing, and kitchen flow, this guide fits alongside the hub on low histamine cooking methods and kitchen setup, which handles the bigger system around the food itself. See also the USDA Food Safety and Inspection Service guidance at https://www.fsis.usda.gov/ and the FDA Food Code at https://www.fda.gov/food/fda-food-code/food-code-2022.
Key takeaways
- Low histamine cooking uses heat for safety and texture, not as a way to erase histamine.
- Medium heat, steady simmering, and prompt serving are usually more useful than high heat or long holding.
- An instant-read thermometer is the most practical tool for chicken breast, fish, and leftovers.
- Reheating once is usually safer than repeated warm-ups; smaller portions help.
- Boiling hard, slow-cooking too long, and leaving food warm on the stove are all common ways to make meals less suitable.
What temperature should low histamine food be cooked to?
Low histamine food should be cooked to the safe internal temperature for that food, not to a special “histamine temperature.” For chicken breast, fish, and mixed dishes, an instant-read thermometer gives the clearest answer. The key is to cook fully, then avoid long warm holding and repeated reheating.
Is reheating food a problem on a low histamine diet?
Reheating food is not automatically a problem, but repeated reheating is a common weak point. The safer pattern is to cool food quickly, refrigerate it promptly, and reheat it once to a steaming-hot center. Small portions and gentle heat help preserve texture while keeping the food safer.
Are slow cooked meals less suitable for histamine intolerance?
Slow cooked meals can be less suitable if they spend too long warm before eating or if they become leftovers that sit around. A slow cooker on low for hours creates a long cooking window, which is not ideal for every person with histamine intolerance. Fresh, quicker cooking is often the better fit.
Drafted with AI; not yet reviewed by a person.