Last updated: November 19, 2026
Quick answer: For low histamine kitchen tools, 7 basics are usually enough: glass containers, stainless steel pans, a food thermometer, parchment paper, silicone lids, a few utensils, and at least one freezer-safe container set. Low histamine kitchen tools are the small, practical items that help you cook, cool, store, and reheat food with less guesswork. If histamine is the problem, the goal is not a fancy remodel; it is a setup that keeps food clean, cold, covered, and easy to move fast from pan to plate.
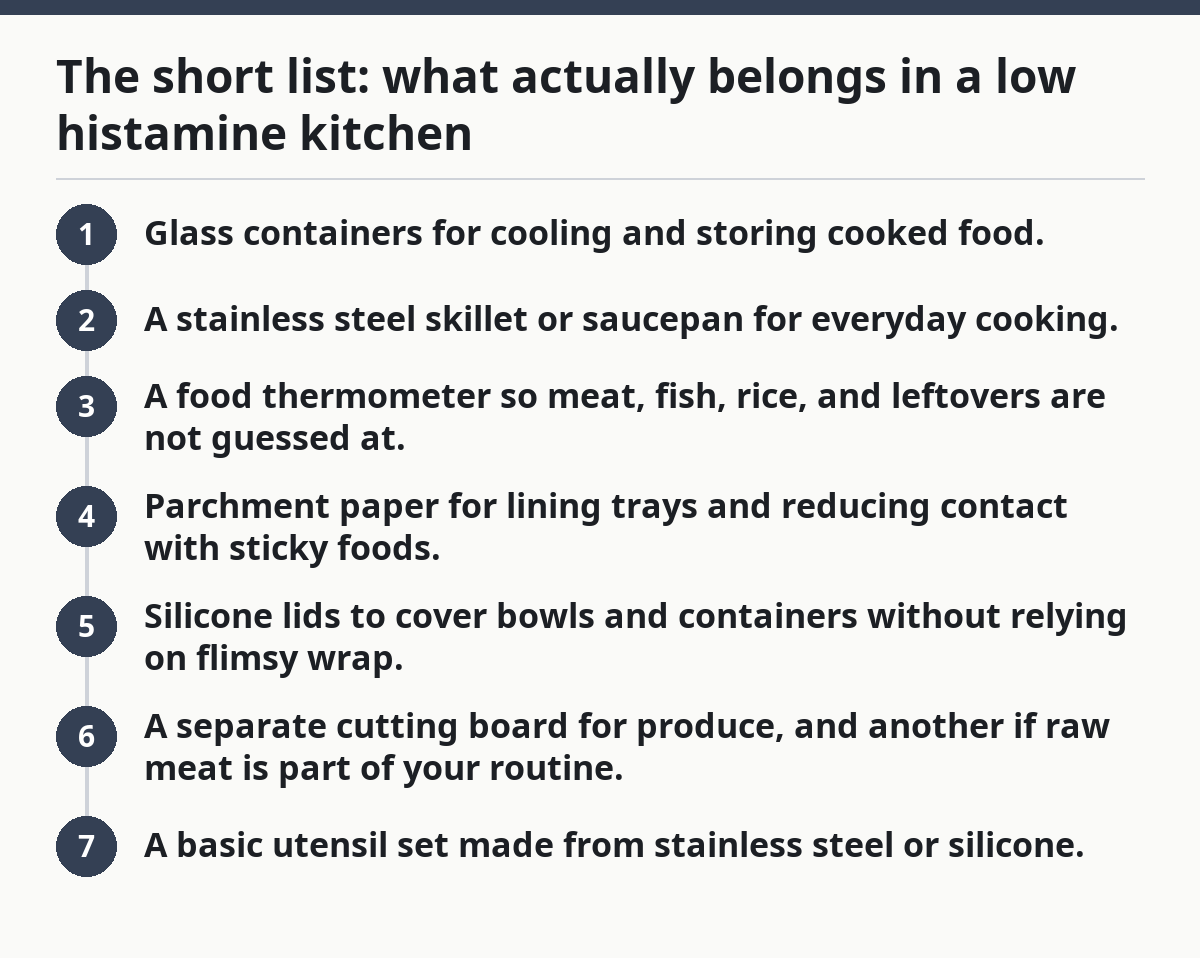
The short list: what actually belongs in a low histamine kitchen
The core kit is simple: glass containers, stainless steel pans, a food thermometer, parchment paper, silicone lids, a few basic utensils, and at least one freezer-safe container set. That is enough for most home cooking without building a separate kitchen.
The reason this list is short is that low histamine cooking is mostly about control. You want surfaces that do not hold smells, pans that heat predictably, and storage that lets food cool and freeze without sitting around in the danger zone for long. A wooden spoon and a random plastic tub can work in ordinary cooking, but they are not the cleanest choice when you need consistency.
If I had to name the first purchases in order, I would start with these:
- Glass containers for cooling and storing cooked food.
- A stainless steel skillet or saucepan for everyday cooking.
- A food thermometer so meat, fish, rice, and leftovers are not guessed at.
- Parchment paper for lining trays and reducing contact with sticky foods.
- Silicone lids to cover bowls and containers without relying on flimsy wrap.
- A separate cutting board for produce, and another if raw meat is part of your routine.
- A basic utensil set made from stainless steel or silicone.
That kit is enough for a one-pan dinner, a tray bake, soup, or a batch of cooked grains. It is also enough for a freezer system, which matters because histamine tends to rise as food sits. The page on low histamine cooking methods goes deeper on the timing and technique side; this article stays with tools.
What kitchen tools help with low histamine cooking?
The most useful kitchen tools for low histamine cooking are the ones that make speed, cleanliness, and temperature control easier. That means glass containers, stainless steel pans, a thermometer, freezer-safe cookware, parchment paper, silicone lids, and simple utensils that do not absorb odors or scratch easily.
Start with glass containers because they do two jobs at once. They let you cool food in shallow portions, and they make it easy to see what needs to be used first. Clear glass also helps when you are managing several cooked items at once and do not want mystery leftovers hiding in the back of the fridge. Look for borosilicate glass or another freezer-safe style if you plan to move food from fridge to freezer.
Choose stainless steel pans for stovetop cooking. Stainless steel heats evenly enough for most home use and does not react with acidic ingredients the way some materials can. A 10-inch skillet and a 2-quart saucepan cover a lot of ground: eggs, vegetables, quick sauces, rice, reheated soup, and simple protein.
A food thermometer removes the guesswork from doneness. It is useful for chicken, ground meat, baked fish, and any food you want to chill quickly after cooking. A basic digital instant-read model is enough for most people. You do not need a commercial probe system for home use. According to the USDA, poultry should reach 165°F, and ground meats should reach 160°F.
Parchment paper earns its place because it keeps trays cleaner and helps food release without scraping. That matters for roasting vegetables, baking fillets, or heating items you do not want to break apart. Use it on sheet pans, not directly over an open flame.
Silicone lids are a small but smart add-on. They help cover bowls during cooling and storage, and they are easier to reuse than plastic wrap. The trade-off is that they do not create a true airtight seal on every container shape, so they are best for short-term fridge storage or covering bowls between steps.
Which containers are best for freezing low histamine food?
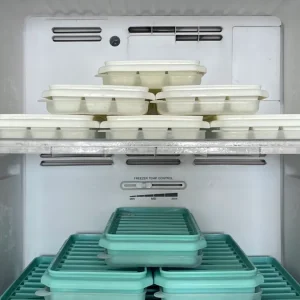
Glass containers with tight-fitting lids are a strong all-around choice for freezing low histamine food, and freezer-safe meal prep containers are the next best option. They hold up to cold storage, stack well, and make it easier to move cooked food straight into the freezer in portions you will actually use.
For freezing, shape matters as much as material. Use shallow containers so food freezes faster and thaws more evenly. A deep bowl of soup takes much longer to freeze than the same soup spread into two or three shallower portions. That is a practical detail, not a luxury detail.
Here is a simple way to set up freezer storage:
- Cool cooked food in a shallow glass dish for 20 to 30 minutes. The food starts losing heat faster, which reduces the time it spends warm on the counter.
- Portion it into 1- to 2-cup servings. Smaller portions freeze more quickly and let you thaw only what you need.
- Leave a little headspace in glass containers. Liquids expand as they freeze, so a crowded jar can crack or pop the lid.
- Use silicone lids or tight freezer lids once the food is cool. You get a better seal and less freezer burn.
- Label the container with the date and contents. Even a simple piece of tape helps prevent the “what is this?” problem later.
- Freeze flat when possible. Flat containers or freezer bags saved for occasional use thaw faster than a tall block.
Not every container belongs in the freezer. Thin deli-style tubs can crack. Very old glass can also fail under sudden temperature change. If a container is not marked freezer-safe, I would not trust it with hot food or long storage. That is one place where being cautious saves money and cleanup.
Stainless steel pans, cutting boards, and utensils that do the job
Stainless steel pans, non-porous cutting boards, and plain utensils are the workhorses of a low histamine kitchen. They keep cleanup easier, they are less likely to hold odors, and they do not ask you to baby them.
For cutting boards, a smooth plastic board or a well-kept non-porous board is easier to sanitize than a heavily scored wooden one. If you use wood, keep it in good condition and replace it when grooves get deep. A single 12-by-18-inch board is enough for many kitchens, but having two boards is better: one for produce and one for raw meat. That reduces cross-contact and keeps prep moving.
For utensils, stainless steel spoons, spatulas, tongs, and whisks are low-drama choices. Silicone spatulas are also useful because they scrape pans clean and handle heat well. The main thing to avoid is a pile of specialty tools that are hard to wash or only work for one task. A 6-piece set is usually more useful than a drawer full of gadgets.
For stainless steel pans, look at the bottom and the handles as much as the cooking surface. A pan with a thick base can heat more evenly, and a securely riveted handle can be easier to trust when you move food fast from stovetop to plate. If you have medical concerns about cookware, follow manufacturer guidance and consult a qualified professional. You do not need a full 12-piece cookware set. One skillet, one saucepan, and one stockpot cover most low histamine basics.
The drawback of stainless steel is that it can stick if the pan is too cold or the food is moved too soon. That is manageable, but it means you need a little technique. Preheat the pan, add fat if the recipe needs it, and wait for food to release before turning it. If you want a nonstick pan, use it carefully and replace it when the surface is worn. Nonstick can be convenient, but it is not a cure-all, and worn coatings are a poor trade when you are trying to simplify cleanup. If you have questions about a coating or a pan’s condition, consult the manufacturer or a qualified professional, and use the FDA and EPA guidance on cookware materials as a starting point.
How I would set up a low histamine cooking station in 15 minutes
A low histamine cooking station works best when the tools you reach for are the tools you use every day, not the ones buried in a cabinet. Set the zone up once, then keep the flow simple: prep, cook, cool, store, and clean.
- Clear one counter space of about 2 feet by 3 feet. You get enough room for a cutting board, a bowl, and a tray without crowding.
- Set out one cutting board, one chef’s knife, and one vegetable peeler. That gives you the basics for most prep jobs.
- Place a stainless steel skillet, saucepan, and sheet pan within arm’s reach. You avoid hunting for pans mid-recipe.
- Stack glass containers by size near the stove or sink. That makes portioning fast when food comes off the heat.
- Keep the thermometer in a visible spot, not a drawer. If it is easy to grab, you are more likely to use it.
- Store parchment paper and silicone lids together. These are step-saving items, so they should live near the containers and trays they support.
- Leave a clean towel or rack ready for cooling. A hot pan should not sit in a pile of clutter while you figure out where to put it.
This setup is not about perfection. It is about removing friction. If you have to dig for the thermometer or wash the only good container while dinner sits in the pan, the system can break down. A simple 15-minute reset once a week is often enough to keep the station usable.
The mistakes that cause more trouble than the tools solve
The biggest mistake is buying specialized gear before you own the basics. A spiralizer, a vacuum sealer, or a drawer of novelty gadgets can look helpful, but they do not matter if you still lack containers, a thermometer, or a clean prep surface. The cost is clutter and wasted money. The fix is to build around the five core items first.
A second mistake is using worn plastic containers for everything. Old tubs stain, hold odors, and can warp under heat. That matters because a container that smells like last week’s food is harder to trust. Glass is the simpler choice for most cooked meals, and freezer-safe containers are the better choice for longer storage.
A third mistake is ignoring size. Oversized containers leave too much air around a small portion, while tiny containers force you to cram food in and leave spills on the rim. The better approach is to keep a few sizes on hand: small for sauce or herbs, medium for leftovers, and larger shallow containers for batch cooking.
A fourth mistake is thinking a nonstick pan solves everything. Nonstick can be convenient, but it is not a cure-all, and worn coatings are a poor trade when you are trying to simplify cleanup. Stainless steel is the steadier choice for most of this work.
Finally, some people skip the thermometer and guess. That turns a simple task into a gamble. A thermometer is not fussy; it is a control point. That matters if you are cooling food fast, reheating leftovers, or cooking protein you want done right the first time.
For broader technique, the hub on low histamine cooking methods covers the cooking process itself. This article is the gear list that makes those methods easier to follow.
What you can skip if you are trying to keep this lean
You can skip almost anything that does not help you cook, cool, store, or reheat food with less stress. That includes expensive knife blocks, matching storage sets, specialty roasting racks, and appliances with 20 functions you will not use.
A bread maker, air fryer, pressure cooker, or dehydrator may be useful for some people, but none of them is required to start. If you already own one, use it. If you do not, do not let it distract from the essentials. The same goes for brand chasing. A standard 10-inch stainless steel skillet and a basic instant-read thermometer are usually more useful than a premium gadget with a polished name and no clear role.
I would also skip decorative storage that hides the contents. Opaque tins look nice, but they make it harder to track what needs to be used first. For a low histamine kitchen, visibility is practical.
The line I would draw is this: if a tool does not make food easier to cool, easier to portion, easier to reheat, or easier to keep clean, it is probably not needed. A small, consistent toolkit beats a crowded drawer every time.
Key takeaways
- Start with a few reliable tools, not a full equipment overhaul.
- Glass containers and stainless steel pans do most of the heavy lifting.
- A thermometer removes guesswork and helps with food safety and timing.
- Silicone lids and parchment paper are small helpers that make cleanup easier.
- Shallow, freezer-safe storage is more useful than a large stack of random tubs.
- If a tool adds clutter without making prep, storage, or cleanup easier, skip it.
What kitchen tools help with low histamine cooking?
The most helpful tools are glass containers, stainless steel pans, a food thermometer, parchment paper, silicone lids, and simple utensils. These items make it easier to prep food quickly, store it cleanly, and avoid unnecessary mess. A basic cutting board and a freezer-safe container set belong on the list too.
Do i need special cookware for histamine intolerance?
No, you do not need specialty cookware for histamine intolerance. A stainless steel skillet, a saucepan, and a sheet pan are enough for most kitchens, and they are easier to keep clean than many novelty tools. The main goal is predictable cooking and simple cleanup, not a branded low histamine set.
What containers are best for freezing low histamine food?
Because freezing depends on portion size and container shape, glass containers marked freezer-safe are a strong general choice for freezing low histamine food. They handle temperature changes better than flimsy tubs and make it easier to portion food in shallow layers. Silicone lids or tight freezer lids help reduce freezer burn and keep portions covered.
Drafted with AI; not yet reviewed by a person.