Last updated: November 19, 2026
A low histamine freezer system for faster meals gives you quick dinners without turning the freezer into a random pile of mystery containers. Quick answer: 3 basics matter most—freeze the right food in the right portions, label it clearly, and rotate it before it becomes a source of stress instead of dinner.
Key takeaways
- Use your freezer as a holding system, not a giant meal-prep project.
- Portion food before freezing so you can thaw only what you need.
- Label every container with the date and the contents, then keep the oldest food in front.
- Divide the freezer into zones so low-histamine meals never get buried under bulk items.
- Plan for defrost days, because a packed freezer and a frosty freezer are both bad setups.
- This approach is not for anyone who wants a once-a-month full prep routine with dozens of mixed dishes.
What a low histamine freezer system actually does
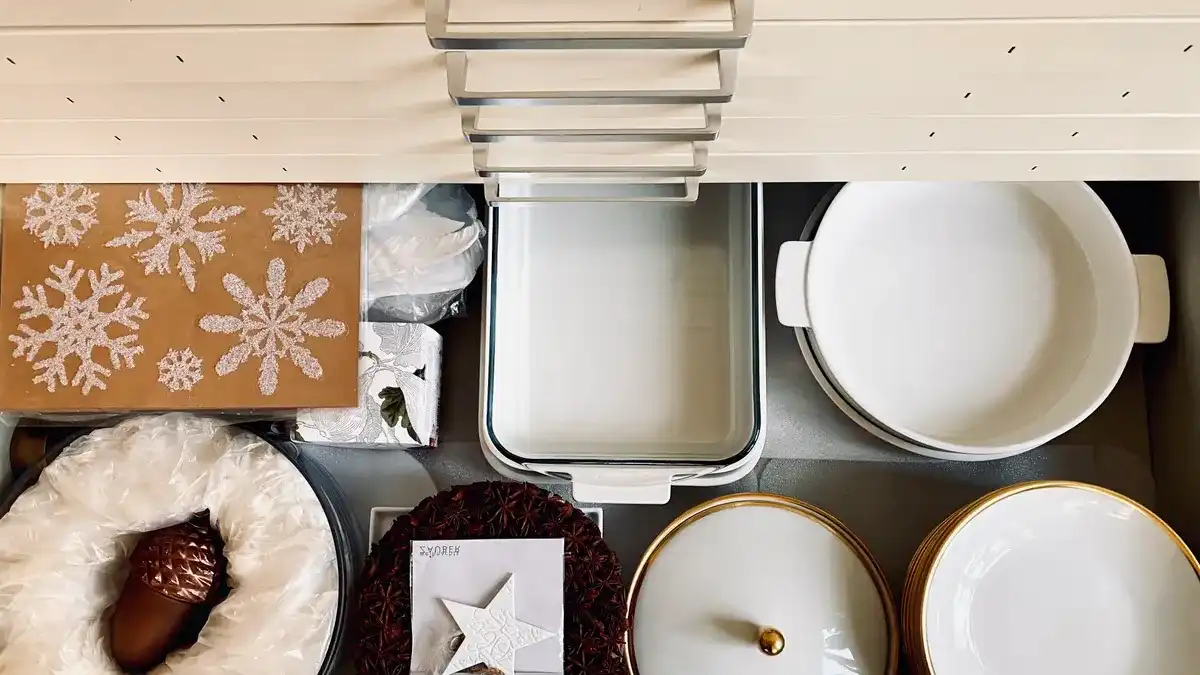
A low histamine freezer system for faster meals keeps ingredients and simple meals moving through the freezer fast enough that dinner does not depend on guesswork. It is not full meal prep, and it is not a storage dump. It is a short, repeatable workflow built around a few tools: freezer bins, masking tape, marker labels, and portion containers.
The point is to freeze food at the moment it becomes convenient, then make it easy to find and use. That means you freeze in single-meal or single-ingredient portions, group similar items together, and date everything the same day it goes in. The freezer becomes a tool for speed, not a place where food disappears for months.
This matters because low histamine eating usually needs consistency. A container shoved behind a bag of frozen berries is useless when you are tired and hungry. A labeled portion in a known bin is dinner in 10 to 20 minutes, depending on what you thaw and heat.
The system also keeps you from overcommitting. A generic freezer meal plan often assumes you will cook a batch of mixed dishes, store them all, and remember what is what. That breaks down fast. A freezer system works better when every item has one job: a protein, a base, a sauce, or a simple cooked component.
If you want a broader approach to cooking methods that fit this style of eating, the low histamine cooking methods hub is the better place to start. This page stays focused on the freezer itself.
Set up freezer zones before you freeze anything
Set up three to five freezer zones so you can find meals in seconds instead of digging through piles. A zone is just a fixed place for one category: proteins, cooked bases, vegetables, emergency meals, or backup broths if you use them. Use freezer bins that fit your shelf depth, because a bin keeps small containers from sliding behind larger packages.
Start with the top shelf or one drawer for the most urgent food. Put the items you want to use first in front, not in the back. Put long-term bulk items lower down or farther back if your freezer layout allows it. If your freezer has drawers, assign one drawer per category and keep the same layout every week. If it is a chest freezer, use bins and a simple top layer so the oldest food does not disappear.
A good zone setup also includes a “use first” spot. That can be one small bin, one basket, or one section of a shelf. Anything newly frozen goes there for a few days before it gets moved into its category. That makes rotation much easier.
This is where a lot of people go wrong: they freeze by the mood of the day, not by the freezer map. The cost is wasted time and forgotten food. The fix is boring but effective—write the zones on paper once, tape the plan to the freezer door if needed, and keep it unchanged for a month before adjusting it.
A freezer system with zones works best when it is simple enough that you can explain it in one sentence. If you need a diagram to remember where dinner lives, it is too complicated.
How do I label frozen food so I can actually use it later?
Label frozen food with the date, the contents, and the portion size before it goes into the freezer. The cleanest method is masking tape plus a marker label, written in one line that you can read in low light: “chicken, 2 portions, 12/4.” If you freeze ingredients often, add one more detail such as “cooked” or “raw.”
The label has one job: remove every decision you do not want to make on a tired night. That means no vague notes like “soup” or “meal.” Name the ingredient and the form. If it is a sauce, say which sauce. If it is a base, say what base. If it has already been cooked, put that on the label too.
Use a consistent format on every container:
- Write the food name first.
- Add the portion count or portion size.
- Add the freeze date.
- Add one note if it matters, such as “cooked,” “single serve,” or “thaw overnight.”
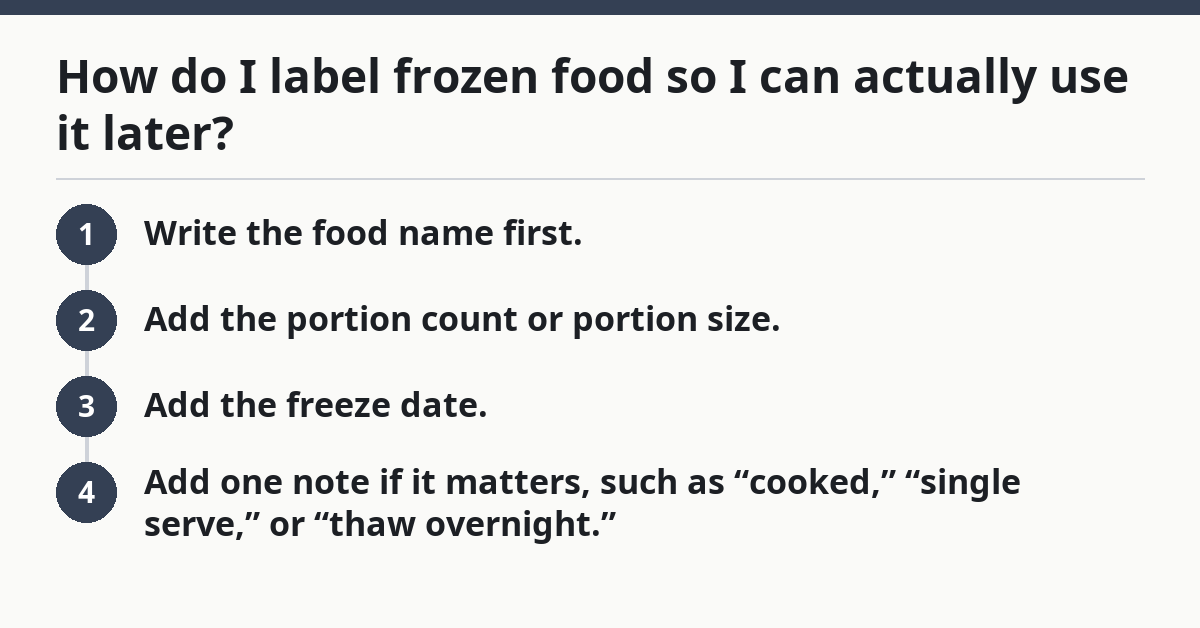
That format matters more than fancy containers. Even a good container is useless if the label peels off or the writing smudges. Masking tape usually works well because it sticks to many smooth surfaces and removes without a battle. If you use reusable containers, keep the label on the lid, not the side, so you can read it while the container is stacked.
The common mistake here is over-labeling. A label with six notes takes too long to write, so people stop labeling at all. The cost is confusion and food waste. Keep it short enough that you will do it every time.
Portion freezing without turning dinner into a production line
Portion freezing works best when you freeze one meal’s worth of food in containers that match your real appetite. Portion containers are the simplest way to do this because they force you to decide the serving size once instead of every night. Small silicone or rigid containers, divided trays, and shallow freezer-safe boxes all work if they hold a consistent amount.
The easiest way to build the system is to divide food into three use types: single meals, building blocks, and extras. Single meals are the whole answer to dinner, such as a portioned soup or stew. Building blocks are one component, such as cooked rice or plain chicken. Extras are small items you add later, such as sauce, herbs, or a veggie side.
A practical portioning workflow looks like this:
- Cook or cool the food in a shallow layer so it stops steaming, which helps it freeze more evenly.
- Spoon it into portion containers in the same amount each time, such as one bowl-sized serving or one family meal portion if that is your pattern.
- Freeze bags flat, or use rigid containers with enough headspace so the package does not split as it freezes.
- Label each container with masking tape and a marker before it goes flat in the freezer.
- Freeze the portions in one layer first, then stack them once firm so they keep their shape and stay readable.
The advantage here is speed later. A flat bag of a single ingredient thaws faster than a deep block in a big tub. A shallow container also gives you more control over what you use on a given night.
What this system is not: it is not batch-cooking a week of mixed dinners with six ingredients in each one. That kind of prep creates more moving parts than a low histamine freezer usually needs. Simpler portions are easier to rotate, easier to thaw, and easier to replace.
How to rotate the freezer so older food gets used first
Rotate the freezer by moving new food behind old food and checking the front bin before you shop again. This is the oldest-item-first rule, and it only works if your zones stay fixed. Put the newest portions at the back of a shelf, in the lower half of a bin, or in the rear section of a drawer. Keep the front as the “next up” area.
A rotation routine takes about 5 minutes once a week if you keep it consistent. Pull the front bin, read the labels, and move anything older into the use-first spot. If you can no longer see a date, that item is already too hard to manage. Use it soon or remove it from the system.
The easiest rotation method for a low histamine freezer is this:
- New food goes into a designated landing spot for 24 to 72 hours.
- After that, it gets moved into its category bin.
- The oldest dated item in each bin stays at the front.
- Anything with a worn label gets re-labeled immediately.
This sounds basic, but it prevents the most common freezer failure: a well-stocked space that still leaves you with nothing usable. A packed freezer can hide food just as easily as an empty one can.
The drawback is that rotation takes discipline. If you ignore it for two weeks, the system starts slipping. The fix is not a better app or more bins. The fix is a standing check-in on the same day each week, even if it is only 5 minutes.
For general food safety principles around frozen storage, it is worth checking a trusted source such as the USDA FoodKeeper guidance and FDA food storage guidance, though the exact low-histamine use pattern still depends on your own tolerance and diet plan.
Plan defrost days before the freezer gets too full
Plan defrost days before frost buildup cuts into your storage space or your drawer stops closing properly. A freezer system runs better when you schedule maintenance instead of waiting for a problem. If your freezer starts icing up, the usable space shrinks and the bins stop sliding the way they should.
A smart defrost plan is simple. Pick a time when the freezer is least full, move the food into another freezer or cooler with ice packs, and clean the interior while the frost is manageable. The exact interval depends on the appliance, but the trigger is easy to see: when ice starts affecting airflow, drawer movement, or shelf access, it is time.
Defrost planning matters in a low histamine setup because a crowded, frosted freezer makes you avoid the very food you need to use. It also makes labeling and rotation harder. You cannot keep a system organized if half the containers are stuck behind a sheet of ice.
Use this as part of the system, not as an emergency:
- Keep one small empty space reserved for temporary holding.
- Avoid overfilling to the point that air cannot circulate.
- Track which bin is most likely to need a defrost move first.
- Re-label anything that gets moved so it does not re-enter the freezer as a mystery item.
If your freezer is the kind that builds frost quickly, a monthly glance is enough to catch the problem early. If it is frost-free, you still need to watch for drawer crowding and seal issues. The trade-off is obvious: a well-run freezer system needs a small amount of maintenance, but it saves far more time than it takes.
What mistakes break a low histamine freezer system?
The biggest mistakes are vague labeling, oversized portions, and mixing new food with old food in the same bin. Each one creates a different kind of failure, and each one has a cost you will feel at dinner time.
Vague labels cost time. If every container just says “soup,” you will open three before finding the one you want. Fix it with date-plus-content labels on masking tape.
Oversized portions cost flexibility. A giant container may look efficient, but it turns one meal into several days of the same food or leaves you thawing more than you need. Fix it with portion containers sized for one meal, one side, or one batch component.
Poor rotation costs food. If you keep putting new items on top of old ones, the old food slips into the background. Fix it with a front-to-back or oldest-first rule in every freezer zone.
Overfilling costs access. A freezer packed beyond easy reach makes people stop using it. Fix it by leaving enough room to read labels and lift containers without collapsing the stack.
One last mistake is trying to build a huge system in one weekend. That usually fails because it is too much to keep up. Start with one shelf, one drawer, or one bin. A small system you actually maintain is better than a perfect plan that lasts three days.
A low histamine freezer system that stays usable
A low histamine freezer system stays useful when it is small, labeled, and easy to rotate. The freezer should answer one question fast: what can I make tonight? If it cannot do that, the system is too complicated.
The best setup is usually a fixed zone layout, masking tape labels, marker labels, freezer bins, and portion containers. It also includes a weekly rotation habit and a defrost plan before the freezer gets crowded. That combination keeps the food visible and the decisions simple.
This method is not for someone who wants elaborate menu prep, and it is not a substitute for understanding your own trigger pattern. It is for the reader who wants fewer steps between “I need dinner” and “I’m eating dinner.”
If the freezer becomes a catch-all, simplify it. If the labels get messy, rewrite them. If the bins overflow, reduce the number of categories. The system should adapt to your life, not demand a new life.
How do you organize a freezer for low histamine meals?
I organize it by category, then by age. Keep one bin or drawer for the foods you will use first, then separate bins for proteins, cooked bases, and quick add-ons. Use freezer bins so items stay visible, and keep the oldest dated food at the front of each zone. A simple layout beats a clever one every time.
What is the best way to label frozen low histamine food?
A practical way to label frozen low histamine food is to keep it short, readable, and consistent: food name, portion size, and freeze date on masking tape with a marker. Put the label on the lid or top surface so you can read it while the container is stacked. If the food is cooked, raw, or thaw-now, add that in one extra note.
How long should low histamine food stay in the freezer?
It should stay in the freezer only as long as you can keep the label clear and the rotation honest. Freezing slows change, but a low histamine system works best when food moves through quickly and predictably.
Drafted with AI; not yet reviewed by a person.