Last updated: November 19, 2026
Quick Answer: A one-zone low histamine prep station can work in about 24 by 36 inches of clear counter space, with a fixed prep lane, a separate cleanup lane, and labeled storage to keep the setup predictable.
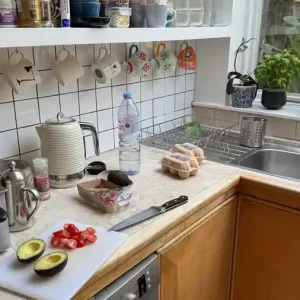
A one-zone low histamine prep station is a single, fixed work area where every raw ingredient, tool, and cleanup item lives in the same spot, so you can prep food without scattering pieces across the kitchen. This article on How to Set Up a One-Zone Low Histamine Prep Station at Home focuses on a layout that supports speed, separation, and less handling in a limited-space kitchen.
What a one-zone low histamine prep station needs to do
A one-zone low histamine prep station needs to keep active prep, finished food, and cleanup materials in clearly separate spots on the same countertop. The point is not to build a second kitchen; it is to create one controlled surface that stays predictable every time you cook.
Start with a counter that gives you at least one clear rectangle of about 24 by 36 inches, even if it is smaller. That space has to hold a cutting board or prep tray, one or two mixing bowls, a dish tub or sink access point, and a paper towel stack without forcing you to stack wet and dry items together. If the space is tighter than that, the station can still work, but it becomes less forgiving and you will need stricter habits.
The physical logic is simple. Left side or back edge for raw ingredients. Center for cutting, mixing, or portioning. Right side or front edge for finished food. Cleanup stays at one end, not mixed into the prep path. If you share the kitchen, labels on a drawer, bin, or tray marked “low histamine prep” can help, especially when they are paired with a clear household rule and professional dietary guidance as needed. A practical reference for food-handling and kitchen organization guidance is the Academy of Nutrition and Dietetics.
This is not the same as a full low histamine pantry. It is also not the best setup for someone who cooks several meals at once, stores large batches, or needs a wide spread of appliances. If your kitchen is already crowded with daily family traffic, a one-zone station may be the right compromise, but it will not solve every storage problem.
For the broader setup that supports this page, the hub on low histamine cooking methods and kitchen setup sits above this workflow. This page handles the physical station only.
How do I organize one cooking area for low histamine meals?
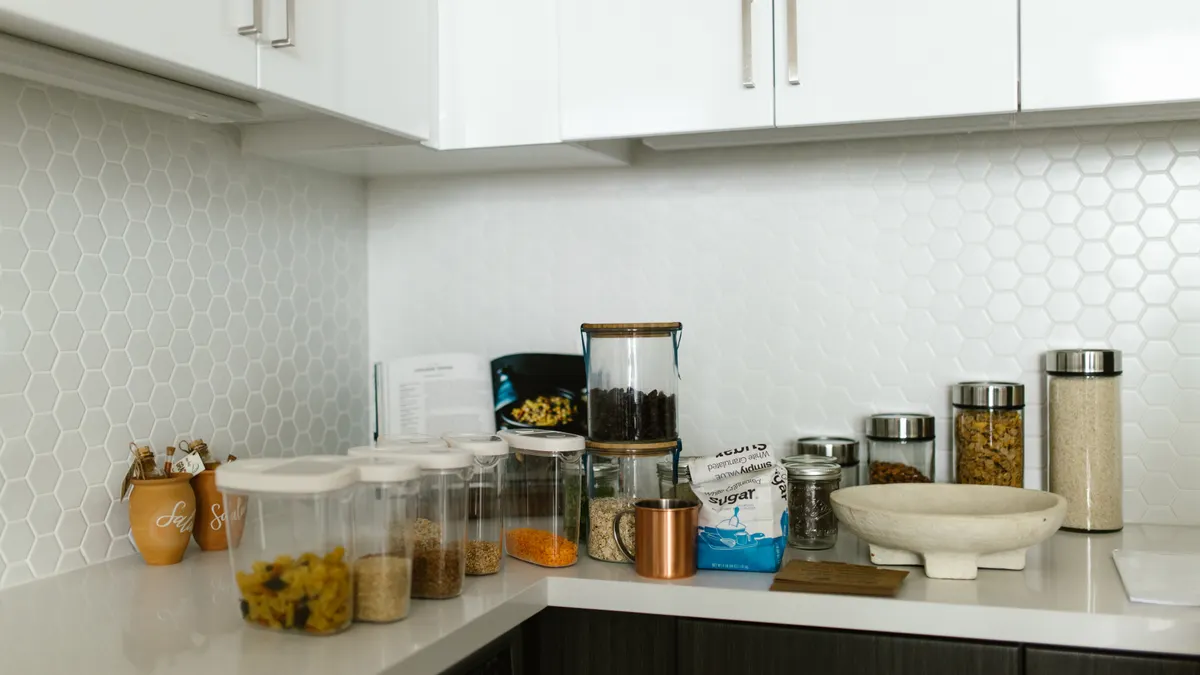
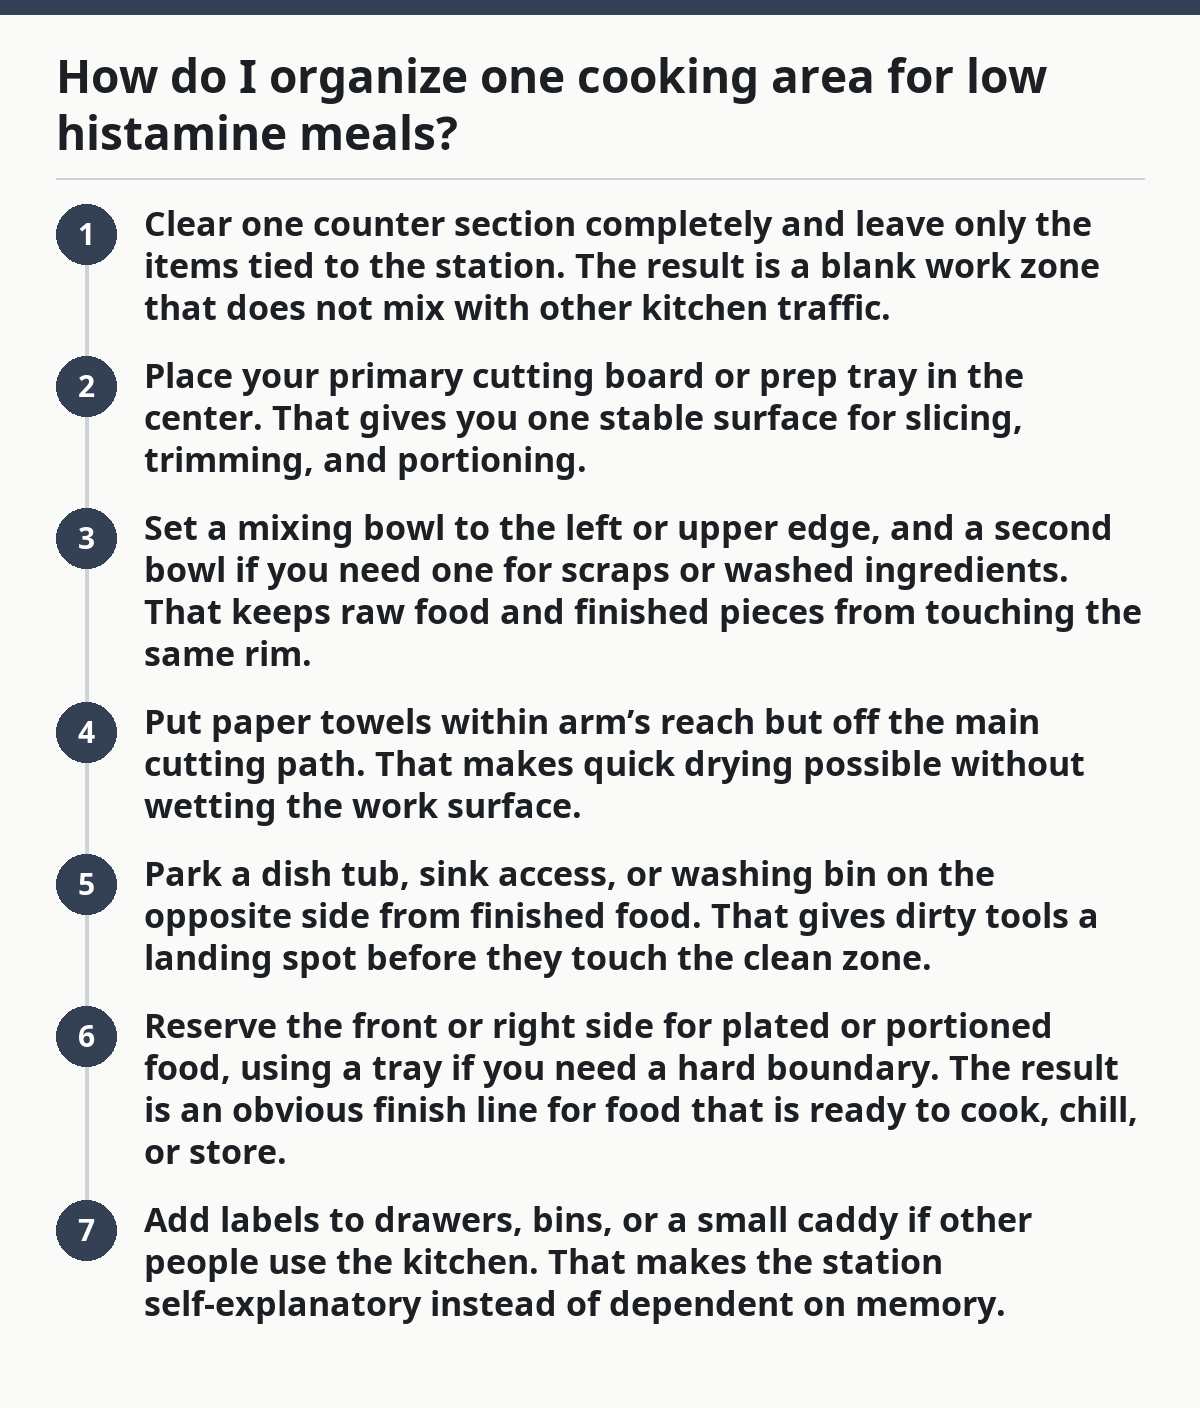
You organize one cooking area for low histamine meals by assigning fixed lanes on the countertop and keeping each lane tied to one job. The station works best when the layout is boring enough that you can repeat it in under 2 minutes.
Use this sequence:
- Clear one counter section completely and leave only the items tied to the station. The result is a blank work zone that does not mix with other kitchen traffic.
- Place your primary cutting board or prep tray in the center. That gives you one stable surface for slicing, trimming, and portioning.
- Set a mixing bowl to the left or upper edge, and a second bowl if you need one for scraps or washed ingredients. That keeps raw food and finished pieces from touching the same rim.
- Put paper towels within arm’s reach but off the main cutting path. That makes quick drying possible without wetting the work surface.
- Park a dish tub, sink access, or washing bin on the opposite side from finished food. That gives dirty tools a landing spot before they touch the clean zone.
- Reserve the front or right side for plated or portioned food, using a tray if you need a hard boundary. The result is an obvious finish line for food that is ready to cook, chill, or store.
- Add labels to drawers, bins, or a small caddy if other people use the kitchen. That makes the station self-explanatory instead of dependent on memory.
The most reliable version of this layout keeps movement in one direction: ingredients enter, food gets prepped, finished pieces leave, and used tools go to wash. A prep tray can help here because it creates a visual border faster than tape or verbal reminders. If your counter is dark or textured, a light-colored tray also makes spills easier to see before they spread.
A common mistake is putting everything in a cluster near the sink. That costs time because wet tools and clean produce end up sharing the same zone, and the counter becomes a staging pile instead of a prep surface. The fix is to separate jobs by inches, not by hope. Even 8 to 12 inches of buffer between raw and finished areas improves the feel of the station.
Which tools belong in the station, and where should they sit?
The tools that belong in the station are the ones you reach for every session: mixing bowls, prep trays, paper towels, a cutting board, a knife, a dish tub or wash basin, and labels. Anything else should earn its place before it lives there full-time.
Keep the cutting board centered so your hands do not cross over bowls or finished food. Put mixing bowls within one forearm’s reach, not behind the sink. Use prep trays for ingredient staging when you need to hold chopped pieces before cooking; they keep raw piles contained and make cleanup simpler than spreading food directly across the counter. Paper towels should sit in a dry corner of the zone, not beside the faucet where splashes ruin the roll. The dish tub belongs at the cleanup edge of the station, because dirty utensils are part of the workflow, not an interruption from it.
Labels do more than identify bins. They stop the station from becoming a shared dumping ground. A simple label on a drawer or basket can separate “station tools” from everyday kitchen items, which matters in a small home where one spoon or board can drift to the wrong shelf. If the label looks too formal, keep it plain: “prep bowls,” “clean towels,” or “low histamine tray.”
This is the place to be selective. A station stuffed with gadgets slows you down. A microplane, immersion blender, or other specialty item may be useful, but if it is not used often, it should stay elsewhere. That judgment matters more in a one-zone setup than in a larger kitchen because every extra object eats visible space.
The trade-off is obvious: fewer tools in the station means fewer options within arm’s reach. That is fine if your goal is consistency and speed. It is not fine if you need a full culinary workstation for complex cooking. This setup is wrong for anyone who wants everything visible all the time.
For people who want a practical standard to compare surfaces, NSF/ANSI food-equipment standards are useful reference points for cleanability and material expectations in food-contact equipment. The station itself is not a certified product, but the idea of easy-to-clean, nonporous surfaces should guide what sits on the counter. For related kitchen planning, see the article on low histamine cooking methods and the guide to low histamine pantry setup.
How should ingredient staging work in a low histamine prep station?
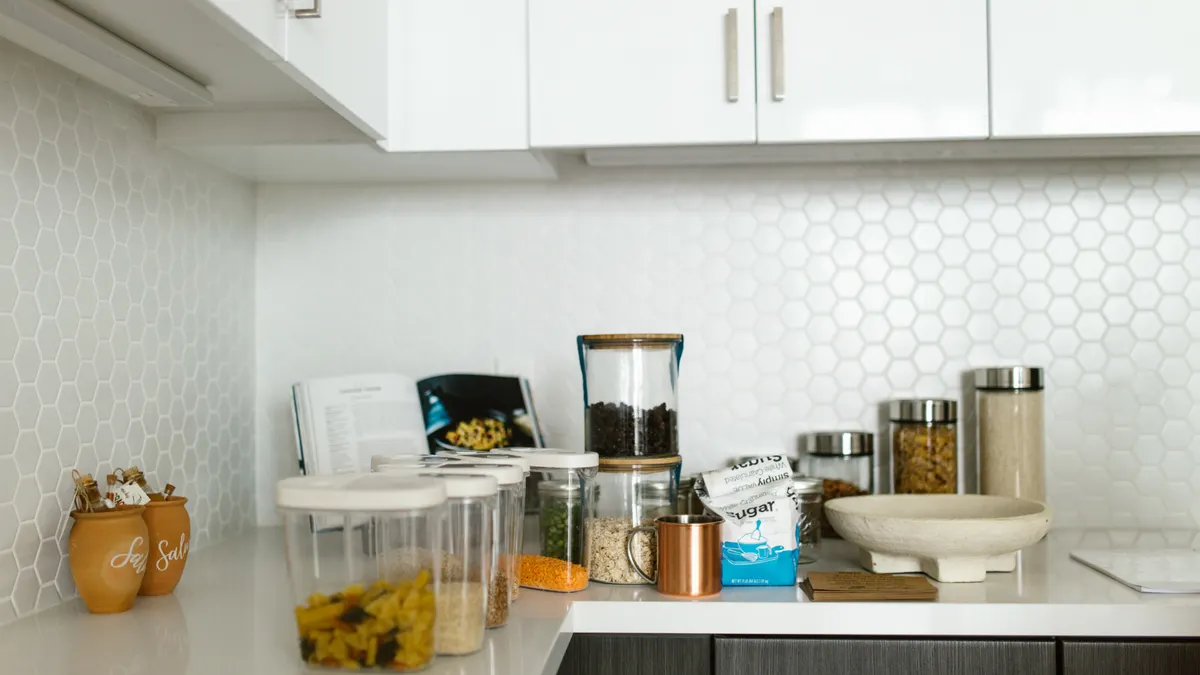
Ingredient staging should keep raw ingredients, washed produce, and ready-to-cook food in separate containers so nothing gets mixed by accident. In a low histamine prep station, staging is about reducing handling, not arranging ingredients for looks.
Set up three stages on the same counter. Raw ingredients arrive in one bowl, tray, or original package area. Cleaned ingredients move to a second bowl or prep tray. Finished pieces go to a third container or plate. That three-step flow is useful because it keeps one batch from touching the next. If you rinse produce, dry it before it enters the clean stage; a wet pile spreads residue and clumps faster than most people expect.
A good staging system is visible. You should be able to tell, at a glance, what is waiting, what has been handled, and what is done. If the edges of those stages blur, the station stops being useful. Transparent bowls can help, but they are not required. Opaque bowls work fine if their positions never change.
Keep the “active” part of the station small. A single cutting board, one prep tray, and two bowls are enough for many home sessions. If you spread out to three or four trays, you lose the one-zone advantage and start creating a relay race across the counter. That can also make the cleanup line unclear, because every surface seems partly used.
This approach is not a substitute for food-safety habits. Low histamine prep is a kitchen organization issue first, but it still depends on ordinary handling discipline. If a food is meant to be chilled quickly, move it out of the station and into the fridge path as soon as it is ready rather than leaving it in the “finished” zone for long. For people managing histamine sensitivity, short exposure and clear separation are part of the point, but medical advice still belongs with a qualified professional if there is a complex dietary or health history.
A practical external reference for food-handling guidance is the Academy of Nutrition and Dietetics, which publishes advice through registered dietitians. Another authoritative kitchen reference is NSF/ANSI food-equipment guidance, which helps set expectations for cleanability and food-contact surfaces.
Where should cleanup flow start and end?
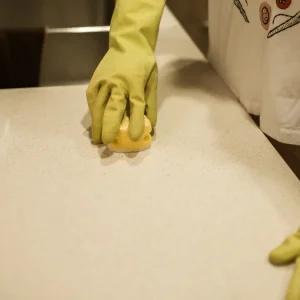
Cleanup should start at the station edge nearest the dish tub and end with a fully cleared counter, not with a pile of “later” items. In a one-zone low histamine prep station, cleanup is part of the layout, so it has to have a lane of its own.
Place paper towels and a dish tub or wash bin so you can move from prep to cleanup without crossing back over the food lane. Used knives, boards, and bowls should travel in one direction only: from active surface to wash area. That reduces the chance of one dirty item touching a finished plate or freshly washed produce.
If you have a sink in the zone, keep one side of it for dirty items and one side for drying or draining. If you do not have sink space, a dish tub can hold the first round of tools until you wash them. The key is to avoid a “temporary” pile on the prep tray. Temporary piles usually become permanent.
Drying matters more than people think. A damp board or bowl placed back into the station changes the whole feel of the zone, because moisture makes crumbs, residue, and labels harder to manage. Paper towels solve the immediate problem, but a dish towel or drying rack may still be needed if you use the station often. Choose one drying method and keep it consistent.
A common mistake is cleaning in the middle of prep every time a tool is used. That interrupts the flow, but it also expands the dirty zone into the clean one. The better pattern is to keep one small dirty landing spot and do a full wash pass after the batch is complete. This is not ideal for every cooking style, but it fits a one-zone station better than constant midstream resets.
If your kitchen has a narrow counter run, this is the section that makes or breaks the setup. A station that looks neat but has no cleanup path will fail on the second use. A station with a clear cleanup lane can survive a cramped layout. For a related layout, see the guide to one-zone kitchen workflow.
What mistakes make a one-zone station fail?
The biggest mistakes are overfilling the counter, blurring clean and dirty areas, and letting the station become temporary storage. Each one costs time, clarity, and confidence in the setup.
Overfilling the counter means the station has no working edge left. When every bowl, tray, and towel sits on the same surface, you start moving items twice just to make room. The fix is to strip the station down to the pieces you use in nearly every session. If an item is not used in a typical prep cycle, it should not live in the station.
Blurring clean and dirty areas costs focus and often creates mess. A dish tub next to finished food is a bad sign; so is a paper towel roll that sits in splash range. The fix is a clean lane and a dirty lane, even on a 2-foot-wide counter. The gap can be small, but it has to exist.
Turning the station into storage is another failure point. A station drawer packed with random utensils creates friction every time you cook. It also makes labeling pointless because nobody can tell what belongs. The fix is to keep only the tools you reach for in the station and move the rest to a different cabinet or drawer.
Another mistake is assuming the station should look permanent and polished. It does not need to be decorative. It needs to be repeatable. A visible prep tray, a clear bowl position, and one labeled cleanup spot are more useful than a styled display.
This setup is not for people who want a highly flexible kitchen that changes every day. It is for someone who wants the same one-zone routine to be ready in under 5 minutes and to work the same way on Monday and Thursday. For more on keeping the layout consistent, see the low histamine kitchen setup guide.
How do I keep the station useful in a small kitchen week after week?
You keep the station useful by resetting it to the same layout after each use and reviewing it every 7 days for clutter or drift. The layout only works if it stays familiar.
Put every item back in the same place after each prep session. That includes mixing bowls, prep trays, paper towels, and labels. When the station is consistent, you stop wasting effort deciding where anything goes. If a tool keeps getting moved, that tool probably does not belong there.
Once a week, clear the countertop and ask three questions: Did anything stay there without helping prep? Did cleanup get slower because of the layout? Did a tool or bowl need to be moved every time? Those answers tell you whether the station still fits your kitchen. In a small space, even a 2-inch shift can matter.
If you share the kitchen, make the station easy to explain in one sentence: this counter section is for low histamine prep only. That kind of simple rule works better than a long household policy. Labels help back it up, but the real control is visual order.
The setup also needs honesty about limits. If the station starts absorbing breakfast items, lunch containers, and mail, it has stopped being a prep station and become a catchall. That is the moment to strip it back, not to buy more organizers. More bins rarely fix a station that lacks boundaries.
This is the kind of kitchen system that rewards restraint. A one-zone low histamine prep station is not meant to impress anyone. It is meant to make one repeatable job easier in a limited space. If you are refining the rest of the kitchen, the article on low histamine cooking methods is a useful next step.
Key Takeaways
- A one-zone prep station works best when raw ingredients, finished food, and cleanup tools each have a fixed lane on the same counter.
- A few pieces do the job: a cutting board, mixing bowls, prep trays, paper towels, a dish tub, and labels.
- The station fails when it becomes storage, because clutter slows prep and erases the clean-to-dirty flow.
- Small kitchens can still use this setup if the layout stays simple
Drafted with AI; not yet reviewed by a person.