Last updated: November 19, 2026
Key Takeaways
- Low histamine cleanup keeps old residue off tools, sinks, and counters before it can be reused by accident.
- The routine should leave no oily sheen, no crumbs in the basin, and no shared sponge residue on the next surface.
- The sink, the dish rack, and the counter need separate cleanup because they collect residue even after dishes are done.
- The biggest mistake is washing the wrong item first.
The low histamine cooking cleanup routine starts right after cooking: wash the dirtiest tools last, protect the sink, and wipe surfaces before residue dries. Low Histamine Cooking Cleanup Without Cross-Contact works best when sauce, oil, crumbs, and dishwater move out of the kitchen instead of from one item to the next.
What low histamine kitchen cleanup is trying to prevent
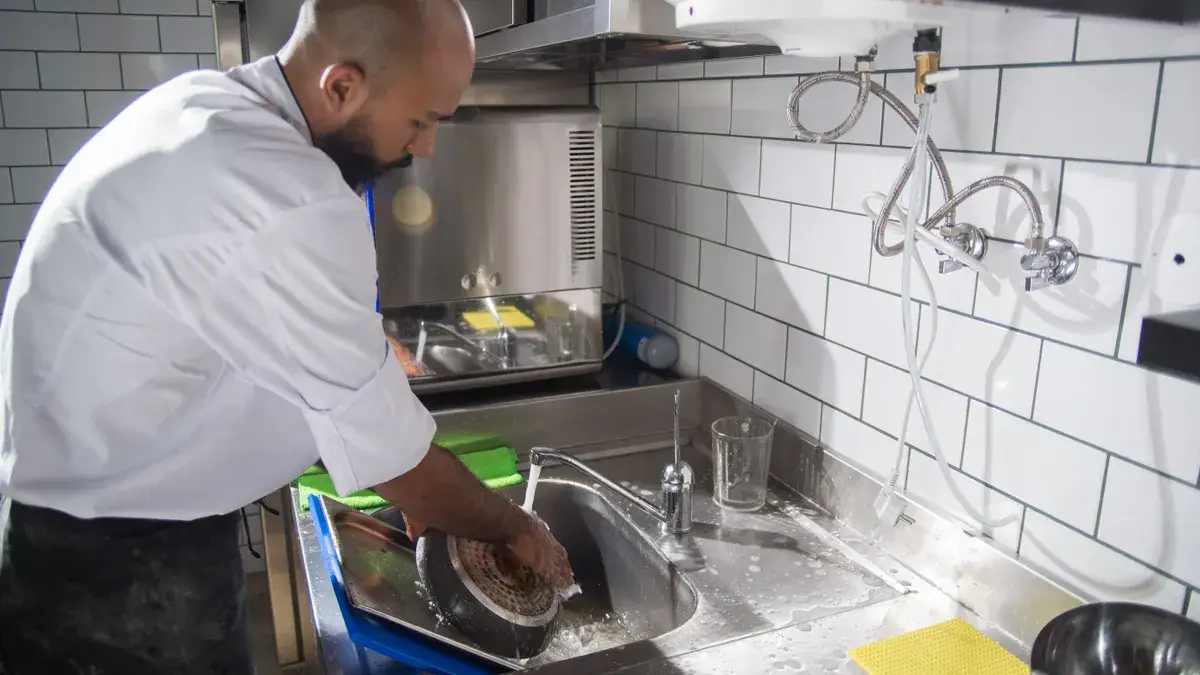
Low histamine cleanup is about stopping old residue from sitting on tools, sinks, and counters long enough to get reused by accident. The goal is not perfection; it is to keep leftover oil, seasoning, meat juices, vinegar, citrus, tomato, fermented sauces, and crumbs from hanging around on a sponge or cutting board and touching the next meal.
That is why this routine needs a real washing order, not a vague “clean up when you can.” If a pan that held garlic and soy sauce is washed after a salad bowl, the bowl can pick up residue from the sink water, the sponge, or the drying rack. That is a cross-contact problem, even if the items look clean.
A practical cleanup routine uses a few ordinary things: dish soap, a sponge or brush for washing, a dish rack for drying, a microfiber cloth for counters, a sink, and a dishwasher if one is available. The method is simple enough to run after a 15-minute breakfast or a 45-minute dinner, and it works best when the low histamine items have their own lane.
This is not the page for building a whole kitchen from scratch. It is the Low Histamine Cooking Cleanup Without Cross-Contact routine after cooking, and it supports the broader low histamine cooking methods and kitchen setup guide.
The cleanup order that prevents cross-contact
The cleanup order that reduces cross-contact is: clear the food away, wash the least contaminated low histamine items first, then the oily or heavily seasoned items, then the sink and counters, and dry everything last. That sequence keeps residue moving out of the kitchen instead of circling through it.
Start with the food itself. Put away the meal before you wash anything, and move serving spoons, plates, and prep bowls off the counter in one trip if possible. If a low histamine meal and a higher-risk meal were both made, keep their dishes separate from the start. A clean counter with dirty plates still sitting on it is only half-clean.
Next, wash items in this order: drinking glasses or plain bowls, then clean prep tools, then plates, then pans and baking trays. Save the greasiest skillet, roasting pan, or sauce pot for last. If you use a dishwasher, load the cleaner items first and the heaviest items last, with the dirtiest pieces placed where spray can reach them. That usually means the bottom rack for pans and larger utensils, with nothing nested tightly inside another item.
Then clean the sink itself. A sink that still has bits of onion, sauce, or dishwater residue can transfer that residue to the next item you rinse. After the sink, wipe the counters with a fresh microfiber cloth and hot soapy water, or a cleaner suitable for the surface. Finish by drying clean tools on a dish rack or with a separate towel that has not touched raw food or greasy pans.
A useful rule: if an item would leave a visible film on the next dish, it belongs later in the cleanup order, not earlier.
How do you clean a kitchen for low histamine cooking?
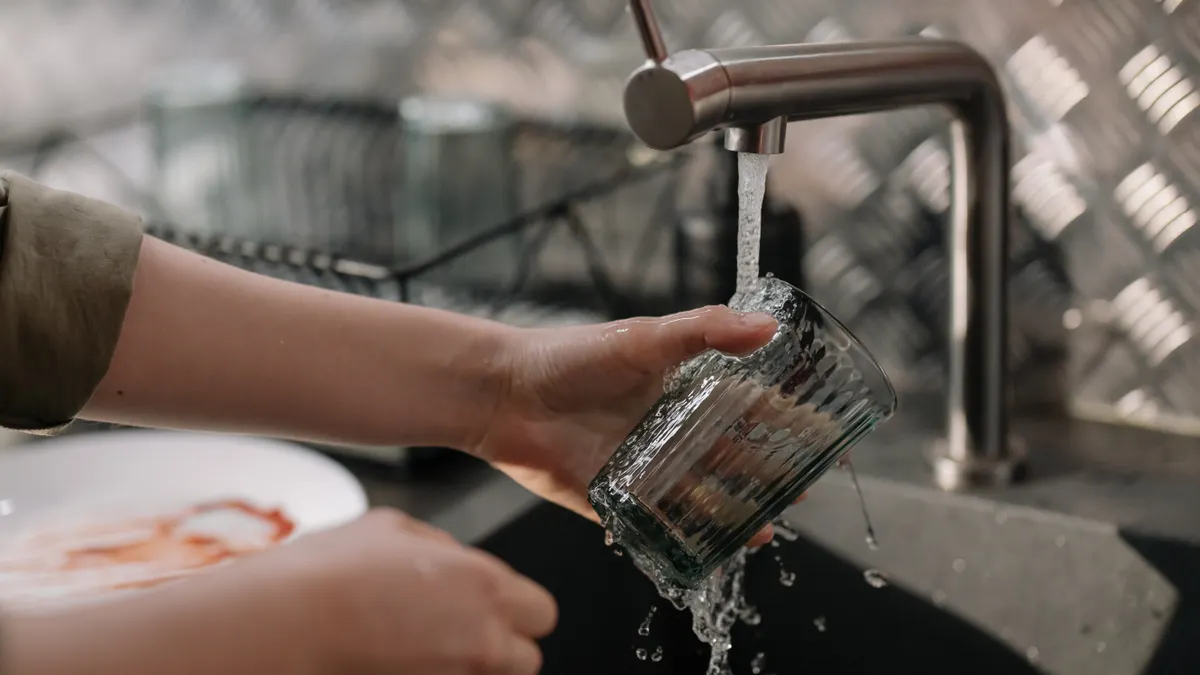
You clean a kitchen for low histamine cooking by using separate wash steps for eating, prep, and heavy-cook items, then cleaning the sink and wiping the work area with a fresh cloth. The routine should leave no oily sheen, no crumbs in the basin, and no shared sponge residue on the next surface.
-
Clear the zone first. Move plated food, ingredient jars, and utensils off the counter before you start washing. A bare 2-foot section of counter gives you one clean work area while the sink is still dirty.
-
Rinse obvious residue from the dirtiest cookware. Scrape pans, sheet trays, and cutting boards into the trash or compost, then rinse them briefly. This helps keep the sponge from turning into a paste of oil and food bits; if you are unsure what is safe for your kitchen setup, consult a food-safety professional or follow manufacturer guidance.
-
Wash the least contaminated items first with dish soap. Use a small amount of dish soap and hot water on glasses, bowls, and utensils that held simple ingredients. They should come out free of grease and feel squeak-clean, not slick.
-
Move to plated, sauced, or oily items next. Wash plates, then pans, then baking dishes. If needed, use a second sponge or a brush for the greasy pieces. A sponge that has handled a heavy pan should not go back to a clean mug.
-
Rinse and clean the sink. Scrub the basin, faucet base, and drain area with dish soap or a sink-safe cleaner, then rinse well. The sink should not smell like last night’s food after this step.
-
Wipe counters and handles with a fresh microfiber cloth. Use a cloth reserved for kitchen cleanup, not one used for the bathroom or raw-meat spills. Clean the counter, stove knobs, and fridge handle in one pass so residue does not get spread around in circles.
-
Dry and store items without crowding. Put dishes on a dish rack or put them away once dry. Crowded drying stacks trap moisture and make it easier for residue to stay stuck to the bottom of a plate or board.
If the kitchen has a dishwasher, use it for the most residue-prone items when it makes sense. A dishwasher is often better than handwashing for oily pans because the wash cycle reaches spots a sponge misses. The drawback is that an overpacked dishwasher can leave residue behind, so it still needs correct loading.
Separate tools and sponges without making the kitchen complicated
Tool segregation works best when it stays simple: one sponge or brush for everyday dishes, one clearly separate tool for raw meat or especially messy pans, and one microfiber cloth only for counters. That is enough for most shared kitchens and is easier to maintain than a complicated color-code system that nobody follows.
A sponge can be the weak point in the whole routine. It picks up residue fast, and if it sits wet on the sink ledge, it can move old food back onto clean items. A brush dries faster and is often easier to keep cleaner between uses. If the sponge is the tool of choice, rinse it thoroughly after use, squeeze it out, and store it where air can reach both sides.
The same rule applies to dish towels. A towel that dried hands should not also be used to wipe a greasy baking tray. A microfiber cloth is useful for counters because it grabs fine residue better than a loose cotton towel, but it still needs to be reserved for kitchen surfaces only. If the cloth is visibly dirty, do not keep wiping with it just because it still looks dry.
Shared kitchens need a little more discipline. Keep one designated dish rack section if possible, and do not let clean plates sit beside a still-dripping pan. If more than one person cooks, label or separate the tools used for low histamine meals so the next cook does not grab the wrong spatula or the wrong sponge.
This is one place where “good enough” can fail quietly. A tool can look clean and still carry residue from the last meal. The fix is not expensive: keep fewer tools in rotation, wash them fully, and let them dry with space around them.
The sink, the dish rack, and the counter need their own routine
The sink, the dish rack, and the counter deserve their own cleanup because they collect residue even when the dishes are done. A clean plate can get re-contaminated by a dirty rack, a wet basin, or a counter where sauce dried in place for 20 minutes.
Start with the sink. Scrub the basin, faucet, and drain area after the dishes are washed, not before. If the sink held greasy pans, the walls of the basin may need a second scrub with dish soap. Rinse the sink so no suds or food film remain. The visible goal is a plain, clean basin with no bits at the drain.
The dish rack should dry between uses, too. If puddles sit under the rack, move it or drain the water after each cleanup. Wet rack bars can leave spots on plates and keep the bottom of utensils in contact with old residue. If the rack is removable, wash it on a regular schedule, not only when it looks dirty.
Counters need the fastest response when residue is still loose. Wipe them as soon as the food is off them, while residue has not dried. A microfiber cloth with warm soapy water usually handles crumbs and light oil well. For dried spills, let the cleaner sit briefly, then wipe and dry the area. The counter should finish dry to the touch, not tacky.
Pay special attention to handles, knobs, and the edge of the sink. Those spots collect tiny transfers from wet hands, ladles, and dish towels. A quick pass over them takes less than a minute and keeps the whole cleanup from failing at the edges.
Common cleanup mistakes that cause cross-contact
The biggest mistake is washing the wrong item first. If a greasy roasting pan goes into the sink before a bowl that held plain rice, the bowl is now sharing wash water, sponge residue, and sink splash with the messiest item in the kitchen. The cost is silent cross-contact. Wash the cleaner items first, or put them in the dishwasher before the heavy pan reaches the sink.
A second mistake is using one sponge for everything until it smells. That spreads oil and food residue from pan to plate to counter. The better move is to rinse and wring the sponge after each task, replace it often, or switch to a brush that dries faster. If the sponge feels slimy, it has already become part of the problem.
A third mistake is wiping counters with the same cloth that dried dishes or handled a spill. That saves time for about 30 seconds and then smears residue back across the work area. Use a separate microfiber cloth for counters and keep it out of the drying pile.
Another common error is skipping the sink. People wash the dishes, assume the room is clean, and leave the basin coated with a thin film. The next rinse brings that film right back onto a spoon or cutting board. Cleaning the sink is not extra work; it is part of the washing sequence.
One more trap is overcrowding the drying rack. If bowls nest inside each other or pans block the airflow, moisture lingers. That moisture can hold residue in place and make the next use less clean than it looks. Give items space, even if that means drying in two rounds.
A simple routine to repeat after every meal
The simplest repeatable routine is: empty the food area, wash clean items first, handle greasy cookware last, scrub the sink, wipe the counter, and dry tools apart from one another. That entire sequence can fit into a short cleanup after a breakfast or a larger session after dinner.
For a small meal, the routine might take one sink fill, one dish soap pass, and a single microfiber cloth wipe-down. For a bigger cook, it may need two rounds of washing and a second rinse of the sink. The goal is not speed. The goal is to stop one meal from touching the next meal through leftover residue.
If the kitchen is shared, the routine works best when everybody follows the same order. One person’s “clean enough” pan can become another person’s contamination problem. A clear cleanup order removes the guesswork and makes low histamine cooking easier to repeat without turning the kitchen into a special project every night.
What is the best cleanup order after cooking?
The cleanup order after cooking is to clear food first, wash the cleanest items first, save greasy cookware for last, then clean the sink and counters. That order keeps residue from moving backward onto dishes you still plan to use. If a dishwasher is available, load it before handwashing the dirtiest pans.
The order matters more than the exact product. Dish soap, a sponge or brush, a dish rack, and a microfiber cloth can all work well if they are used in the right sequence. If the sink, cloth, or sponge gets dirty, the whole routine slows down and residue spreads farther than it should.
How do you prevent cross-contact in a shared kitchen?
You prevent cross-contact in a shared kitchen by separating tools, cleaning in a fixed order, and keeping a clear “clean side” and “dirty side” during the wash. That means a dedicated sponge or brush for the messiest items, a separate microfiber cloth for counters, and enough space on the dish rack that clean items do not touch dirty drips. Shared kitchens fail when people assume visible clean is the same as residue-free.
Drafted with AI; not yet reviewed by a person.