Last updated: November 20, 2026
Quick answer: Pack 3 parts at most — one main food, one dry side, and one reusable ice pack if the food will sit out for more than 2 hours. Pack the food as a small, cool, low-mess child activity meal for kids’ activities and after-school time: use a lunch box or snack container, keep fruit, crackers, and sandwiches in separate portions, and pack a reusable ice pack if the food will sit out for more than a short stretch. The best setup is usually the one a child can open fast, eat without a mess, and finish before the food warms up.
Key takeaways
- Pack for the activity length, not just the clock time at home.
- Keep wet foods and dry foods apart so crackers stay crisp and sandwiches stay neat.
- Use child-sized portions that a child can finish without leaving half an item in the bag.
- A reusable ice pack matters most when pickup is late or the food must wait in a bag.
- If a food is tricky to eat in the car, on a bench, or in a gym hallway, choose a simpler one.
What makes a child activity meal low histamine?
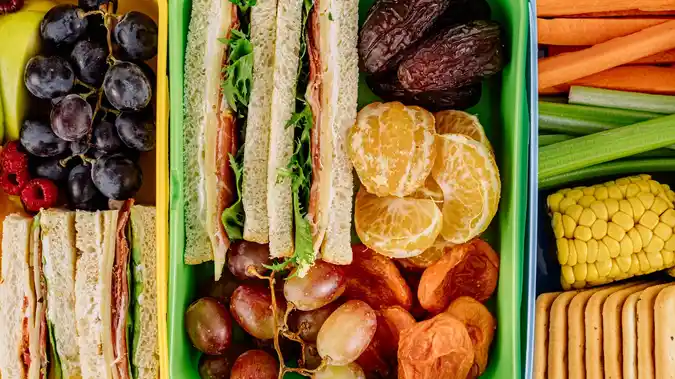
A low histamine child activity meal for kids’ activities and after-school time is one that stays simple, fresh, and easy to eat on the move. For this use, the main job is not building a full lunch; it is giving a child a safe, tidy, portable bite for practice, pickup, or the gap before dinner.
That means choosing foods that fit the timing. A sandwich may work well if it is packed cold and eaten soon after school, while fruit and crackers fit better when the child needs a quick snack between activities. The point is to match the food to the moment, not to force one box to do every job.
This is also where many generic lunch tips fail. A lunch box can hold too much food for after-school time, and a snack container can hold too little for a long practice. The right answer is often a small system: one main compartment, one separate snack container, and a reusable ice pack when the food needs to stay cool.
The same idea fits the hub guide to Low Histamine Meal Timing and Storage — The Complete Guide: timing and storage matter as much as the recipe. For kids in motion, the packing method is part of the meal.
How do I pack a low histamine child activity meal?
You pack it by choosing one main food, one easy side, one container for each texture, and a cooling plan that matches pickup timing. The goal is to build a meal a child can open in less than a minute and eat without help.
- Start with the time window. If the food will be eaten right after school, keep it simple; if it may sit through practice or a car ride, plan for a reusable ice pack and a tighter container. A 30-minute gap and a 2-hour gap are not the same job, and USDA food safety guidance also treats 2 hours as an important cutoff for perishables.
- Choose one main item. A sandwich works when it will be eaten flat and fast; fruit and crackers work when the child needs something lighter. Pick one main item so the box does not become bulky.
- Add one dry item and one fresh item. Crackers stay in a dry snack container, while fruit goes in its own space so crumbs and juice do not mix. This keeps textures separate and reduces mess.
- Use child-sized portions. Pack enough for one sitting, not a full adult portion. Smaller portions are easier to finish before the food warms up or gets crushed in a backpack.
- Seal wet items away from dry ones. If a sandwich has a moist filling, wrap it first before it goes into the lunch box. This protects crackers and keeps the meal from turning soggy.
- Put the ice pack where it helps most. Place the reusable ice pack next to the most perishable food, not just on top of the box. That is the spot that helps the sandwich or fruit stay cooler.
- Check opening ease. If a child cannot open the container alone, the meal is not truly portable. A simple lid is better than a tight package that ends up ignored.
- Pack it last, then move it straight to the bag. The less time it spends on the counter, the better. This is especially useful when school pickup runs late or practice starts soon after.
The best child activity meal is often the one with the fewest pieces. A box with three foods, one ice pack, and one easy lid usually works better than a busy kit with multiple compartments and tiny extras.
Which foods work best for after-school time?
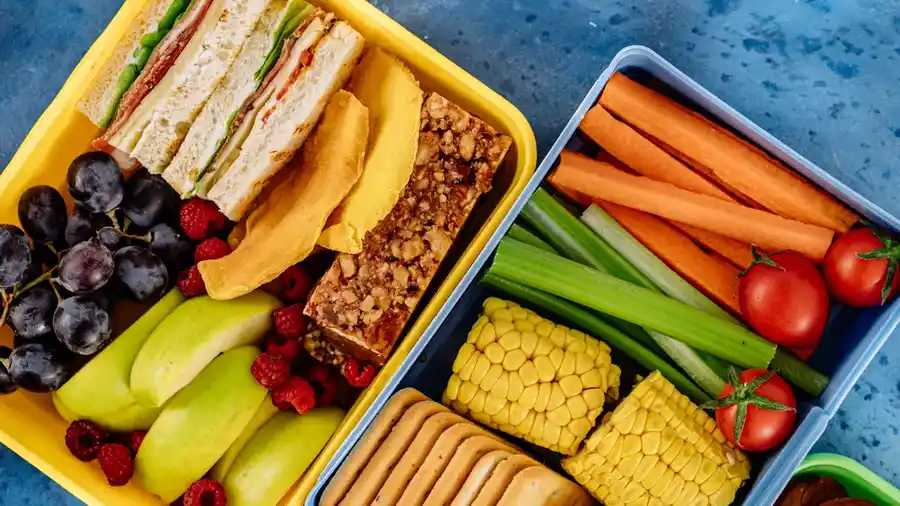
The best foods for after-school time are usually the ones a child can eat quickly, hold easily, and finish before the next activity starts. Fruit, crackers, and sandwiches are the clearest fit because they are familiar, portable, and easy to portion into a lunch box or snack container.
Fruit works well when it is cut into manageable pieces and packed so it does not leak onto the other food. Crackers work well when they stay dry and do not get crushed by a water bottle or sports gear. Sandwiches work well when they are wrapped tightly and flattened enough to sit in a bag without falling apart.
The choice also depends on hunger. A snack is enough when the child is only bridging a short gap until dinner. A meal is better when the child is coming straight from school to a longer practice and needs more than a few bites.
A simple rule helps here: if the child will sit still for only 10 minutes, pack food that needs no knife, no fork, and no cleanup. If the child has a longer stop before activity, the box can hold a little more, but it should still be easy to eat one-handed. For broader food-safety timing, the USDA and CDC both advise keeping perishable food out of the danger zone and chilled when it will wait.
What containers keep food neat and separate?
The best containers are usually the ones that keep dry food dry, soft food protected, and cleanup low. A lunch box handles the full set, while a snack container is better for one small item that needs to stay separate.
| Container type | Best use | Main benefit | Main drawback |
|---|---|---|---|
| Lunch box | Full child activity meal | Holds a sandwich, fruit, and crackers in one place | Can be bulky for a short after-school stop |
| Snack container | Small snack or one side item | Easy for a child to open and carry | Too small for a full meal |
| Wrapped sandwich | Main portable food | Simple, flat, and quick to eat | Can get squashed if packed loosely |
| Separate fruit container | Cut fruit or a soft side | Keeps juice away from crackers | Takes extra space in the bag |
| Reusable ice pack | Any food that needs to stay cool | Helps food stay cold during pickup or practice | Adds weight and takes room |
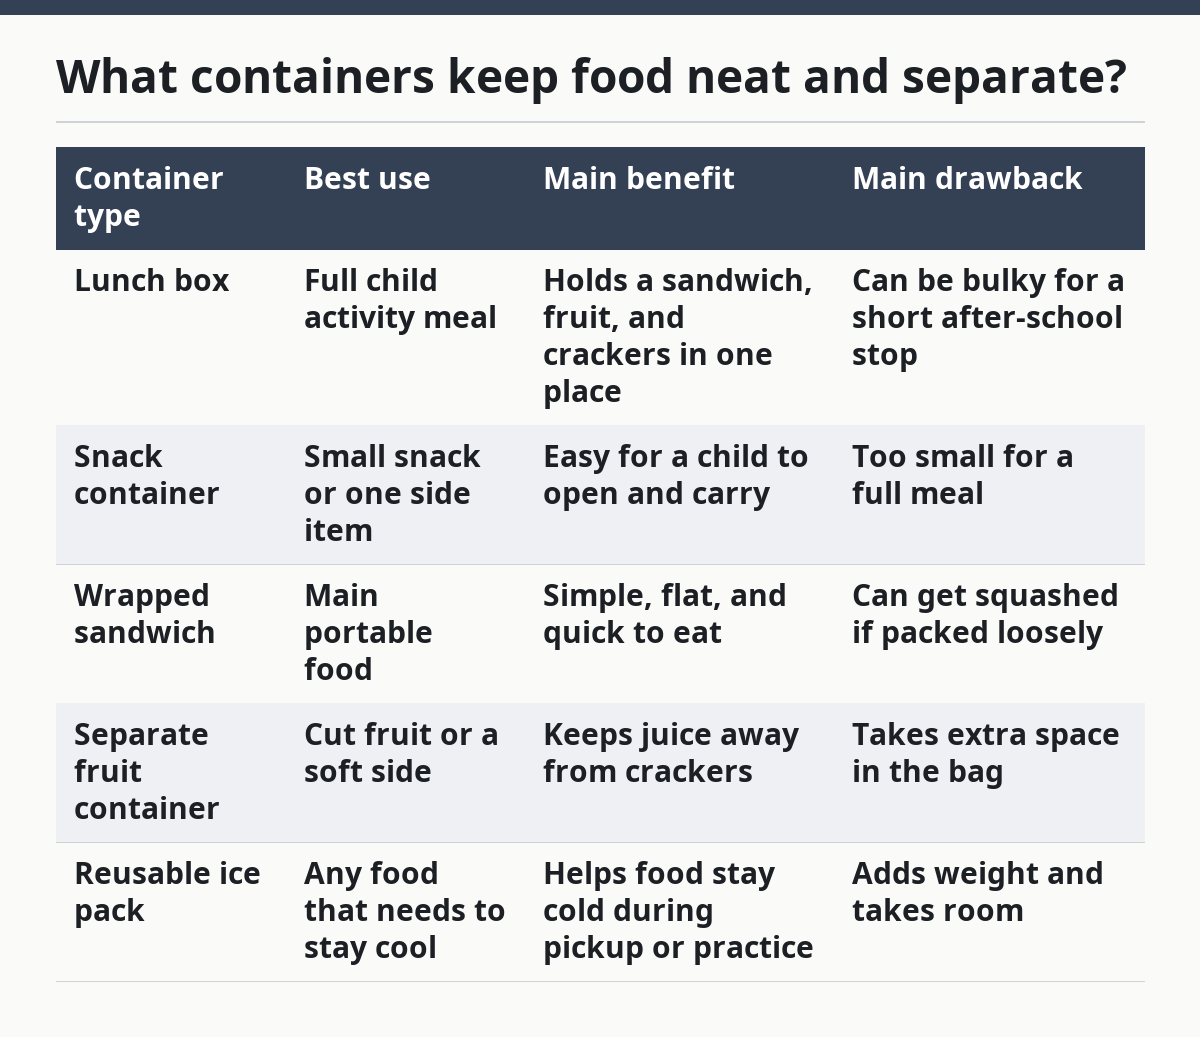
A common mistake is using one large container for everything. That usually turns crackers soft, fruit messy, and the sandwich awkward to reach. Separate containers cost a little more space in the bag, but they save the meal.
This is also where child portions matter. A container that is too large can make the food slide around. A snug fit keeps the meal cleaner and easier to carry. For related packing ideas, see kids lunch box ideas and school snack container guide.
How do I keep snacks separate for school activities?
You keep snacks separate by packing each food in its own small container and placing the driest items farthest from anything moist. This matters when the snack will ride in a backpack, sit in a locker, or get moved from one hand to another during pickup.
A snack container works well for crackers, while fruit should sit in a different space so it does not soften the dry food. A sandwich should be wrapped before it goes into the lunch box so the bread stays intact. If the child carries a water bottle, keep it outside the food box so condensation does not soak the snack.
The biggest trade-off is space. Separate containers take up more room than one packed box, but they protect the texture of the food. For a child who needs quick bites between school and activity, that trade-off is worth it.
School pickup timing also matters. If the child eats at 3:15 and practice starts at 3:45, the snack needs to be ready to eat the moment the bag opens. If pickup is late, the reusable ice pack becomes more useful than a second side item.
What are the biggest mistakes to avoid?
The biggest mistakes are packing too much food, mixing wet and dry items, and ignoring the time the meal will sit in a bag. Each one makes the food less usable, and none of them helps a child who needs to eat fast.
Packing too much food costs you portability. A heavy box is harder to carry and more likely to come home half full. Packing too many small extras also creates clutter, which makes a child slower at opening the meal.
Mixing wet and dry food costs texture. Crackers go soft, sandwiches slide, and fruit can leak. The fix is simple: put each food in its own container and wrap the sandwich before it goes in the bag.
Ignoring timing costs safety and quality. A reusable ice pack is more useful when food will wait during practice or in a car. If the meal is only going to sit for a short stretch, a simpler snack may be enough.
A final mistake is choosing food that is too awkward to eat in motion. A child should not need a fork for every part of the meal. If the food needs too much handling, it is not the right fit for after-school time.
How do I decide between a snack and a meal?
You choose a snack when the child needs a short bridge to dinner and a meal when the child needs real fuel before a longer activity. That decision depends on timing, hunger, and how long the food will need to sit in the bag.
A snack is usually the better call after a short school day or before a brief errand. In that case, fruit and crackers in a snack container may be enough. A meal is the better call when the child is going from school straight to sports, music, or another long activity, because a sandwich and a fuller lunch box give more staying power.
The packaging should match the choice. A snack can live in one small container with one fruit item. A meal needs more room, a tighter wrap, and more care with cooling. If the box is too large for the amount of food, the meal can slide around and get messy.
For low histamine packing, this distinction matters because simpler is often better. The more the food sits, the more planning the container needs. That is why the right answer changes with school pickup timing.
What should I pack first when time is tight?
Pack the cold item first, then the dry item, then the container that closes fastest. When time is tight, the order of packing matters because it keeps the food cold and the lid shut before you leave the house.
Start with the sandwich or fruit that needs the most protection. Put that next to the reusable ice pack if the food will wait. Add crackers or another dry item in a separate snack container so they do not pick up moisture. Then close the lunch box and move it straight into the bag.
This order saves time at pickup and reduces mistakes. It also keeps the food ready if the child needs to eat in the car or on a bench. The best packed meal is often the one that is still tidy when the child opens it 20 minutes later.
If the child will eat right away, do not overpack. One main item and one side are often enough. If the child will wait longer, the ice pack and sealed container matter more than adding another food.
What can I pack for children that is easy to eat on the go?
Pack foods that need little handling, such as fruit, crackers, and sandwiches. A child can usually eat these with one hand or with no extra tools, which makes them better for cars, benches, and quick breaks between activities. Keep portions small so the food is easy to finish before the child moves again.
How do I keep snacks separate for school activities?
Use separate containers for each food and keep dry items away from wet ones. A snack container works well for crackers, while fruit and sandwiches should have their own wrap or section. This keeps textures intact and stops one food from softening the rest.
What foods are easiest for a child to carry?
The easiest foods to carry are flat, dry, and already portioned. Sandwiches, crackers, and fruit fit that pattern well when they are packed in a lunch box or snack container. Avoid foods that leak, crumble badly, or need a fork, because they are harder for a child to manage on the move.
Drafted with AI; not yet reviewed by a person.