Last updated: November 20, 2026
Quick Answer: In a tiny kitchen, you can build a low histamine pantry with 3 tools—one shelf riser, 1 or 2 drawer bins, and stackable containers. This guide explains how to build a low histamine pantry for a tiny kitchen by storing only the staples you use often, using vertical space first, and keeping duplicates to a minimum. In a tiny kitchen or small cabinet, the goal is not a full pantry wall; it is a tight, easy-to-read setup that keeps low histamine foods visible and in rotation.
Key takeaways
- Start with the foods you reach for most, not a long shopping list.
- Use height before width: shelf risers and stackable containers do more than extra shelves.
- Keep one backup only when it saves space and stops repeat buying.
- Clear bins beat mixed boxes because they let you see what needs to be used first.
- A tiny pantry works best when every item has one job and one place.
What should go in first?
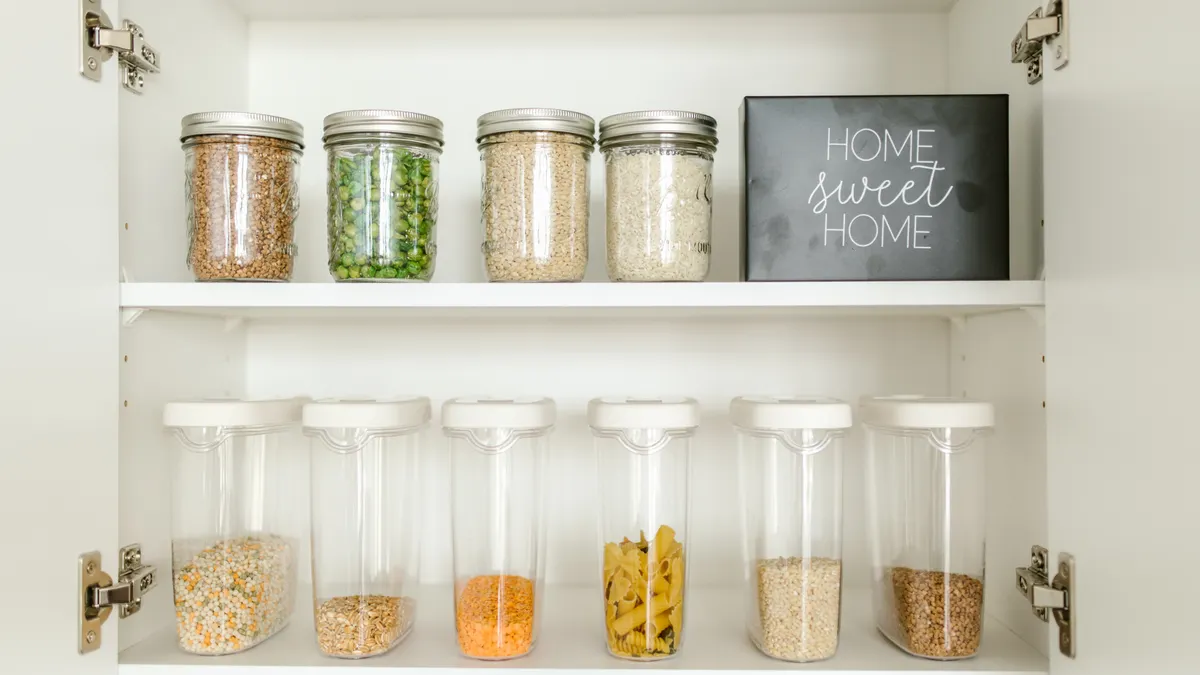
Start with the foods that solve the most meals in the least space. In a small cabinet, that usually means a short list of multi-use staples, not a full category for every recipe idea. If a package does not earn a place in the first 2 shelves, it should wait.
Rather than ranking items by how fancy they sound, rank them by how often they are used. Put the foods that appear in breakfast, lunch, and snack routines at the front. Move specialty items to the back or leave them out until there is room. This is the part most generic pantry lists get wrong: they treat storage like a grocery catalog, which fills a studio apartment kitchen fast and leaves no room for real use. For pantry safety and storage basics, check the USDA FoodKeeper app and FDA food storage guidance.
A low histamine pantry also works better when it avoids duplicates. One jar of a staple is useful. Three half-open jars take space, hide older food, and make rotation harder. If a product comes in a bulk bag, decanting it into a smaller container can free enough room for another item without adding clutter.
A practical starter set usually includes items with long shelf life and simple use. The exact foods depend on the person, but the storage rule stays the same: keep a small set of repeatable staples and leave out anything that needs special handling, frequent repurchase, or too much room. For shelf-stable dates and storage basics, the USDA FoodKeeper app is a useful reference, and FDA food storage guidance can help with safe general handling. For a broader planning framework, see the low histamine shelf-stable foods guide and small kitchen storage ideas.
How do I use vertical space?
Use vertical space by stacking, lifting, and separating layers so the back of the cabinet does not disappear. In a tiny kitchen, the floor of the shelf is not the only usable surface; the air above it can also hold storage when the cabinet height allows it. Shelf risers, stackable containers, and narrow drawer bins turn one flat shelf into two or three usable levels.
The first place to try is often the lowest shelf. Put heavier items there and use a shelf riser to create a second tier for short containers, packets, or jars. That keeps labels in view and stops small things from getting buried behind tall cans or boxes. In a small cabinet, the difference between one shelf and two levels can be the difference between a pantry that works and one that turns into a pile.
A narrow bin can also act like a drawer inside a shelf. Pull it out, check it, and put it back. That is especially useful for apartment kitchen storage where cabinet depth is awkward and items at the back are easy to forget. The point is not to cram every inch full. It is to make each inch readable.
Here is the rule that keeps vertical storage sane: if a bin needs to be emptied to find one item, it is too full. Leave some air around each group so the pantry can actually be used. Clear containers help, but only when they stay small enough to lift with one hand. For more placement ideas, see how to organize a small pantry.
Which containers save the most room?
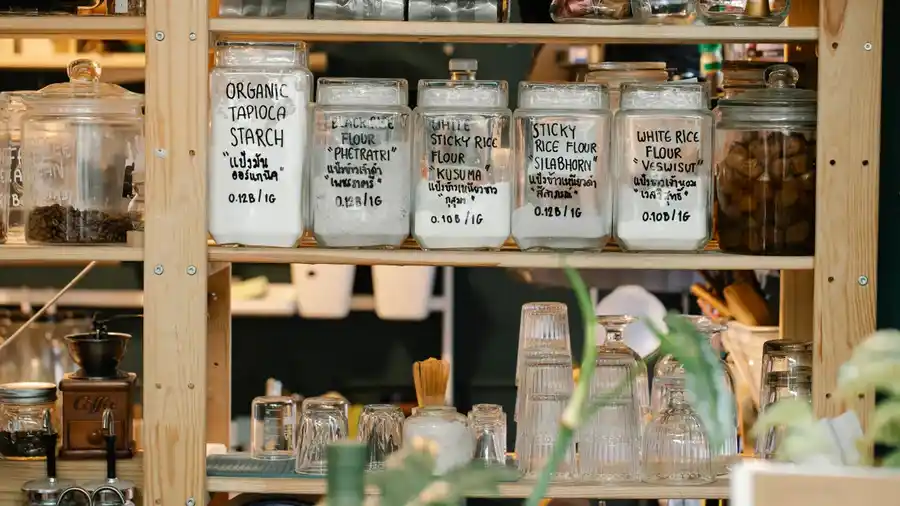
Stackable containers save the most room when they match the size of the shelf and the shape of the food. The container that “fits the pantry” in theory can still waste space if it leaves dead corners, blocks labels, or forces awkward stacking. A tiny pantry needs containers that stack neatly, not containers that look uniform on a screen.
Here is the practical comparison:
| Container type | Best use | Space advantage | Main drawback |
|---|---|---|---|
| Stackable containers | Dry staples and repeated foods | Uses height well and keeps a clean stack | Can become a tower if overfilled |
| Drawer bins | Packets, small items, quick-grab foods | Makes deep shelves easier to reach | Takes a little floor space inside the cabinet |
| Shelf risers | Jars, cans, short boxes | Doubles visible levels on one shelf | Useless if the shelf is already too full |
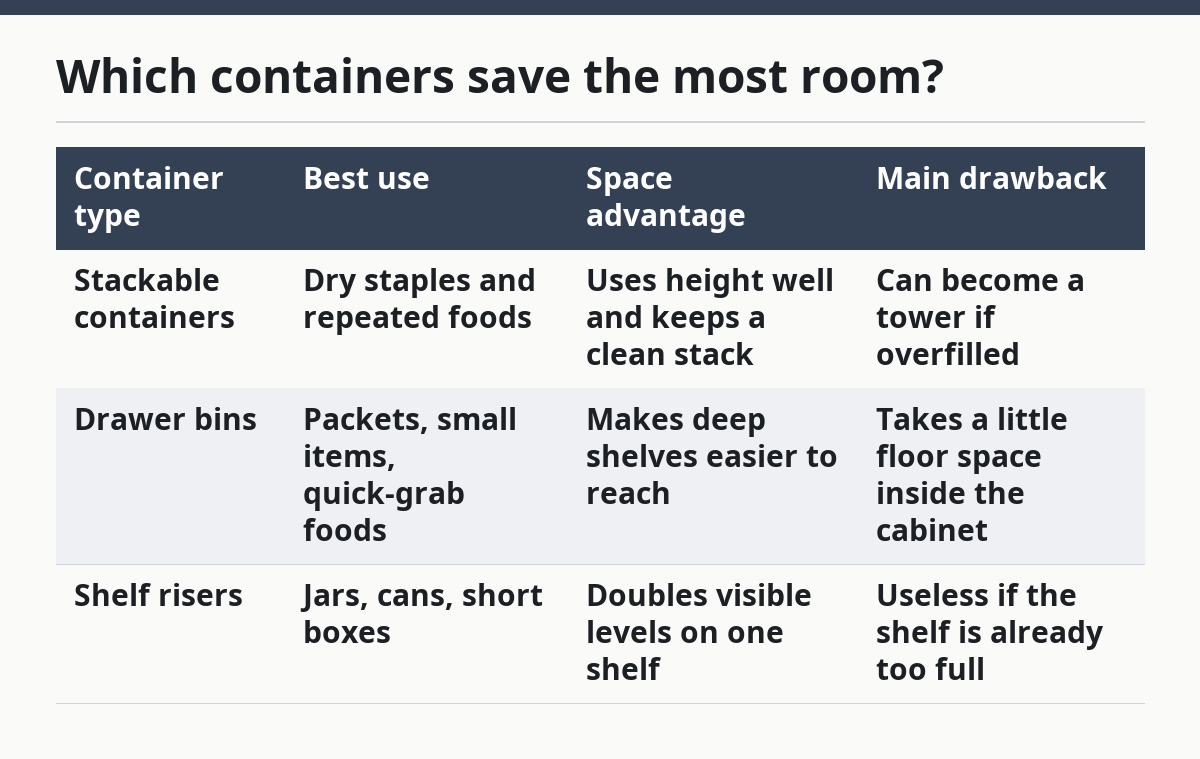
The choice depends on what the cabinet is doing. Shelf risers work best when the shelf is short and the food comes in mixed heights. Drawer bins work best when the shelf is deep and the back row keeps getting forgotten. Stackable containers work best for staples that are opened often and need to stay dry, tidy, and visible.
Do not buy a container before measuring the shelf. A difference of even a few centimeters can decide whether two containers fit side by side or one blocks the door. In a tiny kitchen, that matters more than matching lids. For more product-specific guidance, compare storage labels with USDA FoodKeeper.
How do I keep rotation simple?
Keep rotation simple by using one front row, one back row, and one rule: oldest or open items go first. The less you move things around, the easier it is to avoid waste. A compact rotation system is just a small habit repeated every time groceries come in.
Here is a simple procedure that works in a small cabinet:
- Clear one shelf or one drawer bin at a time, not the whole pantry. That keeps the job to 10 minutes instead of turning it into a full kitchen reset.
- Group items by use, such as breakfast, snacks, or cooking basics, and place each group in one container or one shelf zone. The result is a pantry that can be read in seconds.
- Put new items behind older items in the same group, or place them lower in the stack if the container opens from the top. This keeps the older food visible.
- Label containers only when the contents are not obvious. A plain label with the food name is enough; no decorative system is needed.
- Leave a small empty space in each zone. That gap becomes the landing spot for the next grocery run and stops overflow from spreading.
This is where many tiny kitchens fail. They buy good containers, then fill every one to the top. The pantry looks tidy for a day and becomes hard to use the next week. Some empty space is useful space because it keeps the system flexible.
What should I skip in a small cabinet?
Skip anything that creates more packaging, more duplicates, or more decision-making than your cabinet can handle. A low histamine pantry in a studio apartment is not the place for “just in case” clutter. If a food needs extra storage steps, long reorganization, or a special box just to stay usable, it is usually the wrong item for this space.
Oversized boxes, half-used bags without a clear container, and duplicate versions of the same staple are common space drains. They take shelf space without adding much value. They also hide what is already there, which leads to buying more of the same thing. That is a storage cost, not just a space cost.
A good test is simple: if an item cannot be explained in one sentence, it probably does not belong in the tiny pantry. That does not mean the food is bad. It means the cabinet has a limited job and must stay selective. A small kitchen rewards foods that are low-fuss, easy to stack, and easy to finish before they turn into clutter.
This is also why a tiny pantry is not the right setup for everyone. If the kitchen already stores snacks, dishes, cleaning supplies, and appliances in the same small cabinet, the pantry should stay very lean. In that case, the goal is not full variety. The goal is a short, useful list that fits without crowding everything else out. For a related setup, see pantry organization for apartment kitchens.
How do I keep it from getting crowded again?
Keep it from getting crowded again by assigning every shelf a job and checking it each time groceries come home. A small pantry only stays small if new items replace older ones instead of piling on top of them. Without that rule, even the best shelf risers and drawer bins will fill up fast.
The easiest habit is a 1-in, 1-out approach for repeated staples. When a new container comes in, decide where the older one will move or whether it should be used up first. This works especially well for items that come in multiple sizes, because the smallest cabinet usually cannot support “extra” versions of everything.
A second habit is to keep the front of each shelf clear. The front strip is the working space. If it fills up, the pantry stops being a system and becomes a stack. Leave that strip open for the items in use now, and move backup items to the back row or a separate bin.
This approach also keeps the pantry aligned with the larger low histamine shelf-stable foods guide on the site, without repeating the whole topic here. The bigger guide can cover the food list; this page is about making that list fit in a tiny kitchen. For similar storage planning, compare with the food rotation basics.
The trade-off is obvious: a lean pantry means less variety on hand. That is the price of small-space storage. For a small cabinet, it is usually better to have a few dependable foods within reach than a crowded shelf full of items that are hard to find.
What is the simplest setup for an apartment kitchen?
The simplest setup for an apartment kitchen is one shelf riser, one or two drawer bins, and a small set of stackable containers. That is enough to make a small cabinet work without turning it into a project. The goal is clear access, not a showroom.
Start with the highest-impact items first. Put the foods used most often at eye level, then use one lower level for backups or less-used staples. Keep a single container for small packets or loose items so they do not drift into the back of the cabinet. In many apartment kitchen layouts, that one change matters more than any label system.
If the cabinet already has shelves that are too tall, risers are the best first buy because they add a second layer without changing the cabinet itself. If the cabinet is deep, drawer bins make the back row usable. If the food comes in repeat sizes, stackable containers help the whole setup look and behave like one system.
The best tiny-kitchen pantry is not the fullest one. It is the one that makes a Monday night snack, a quick lunch, or a simple dinner possible without digging through layers of boxes. That is the real win in a small space.
What should I store first in a tiny pantry?
Store the foods you use most often first, especially the ones that work in more than one meal. In a small cabinet, that means the staples that keep showing up in breakfast, lunch, and snacks. Start with a short list, then add only what still fits after the first shelf is organized.
How do I avoid overcrowding a small cabinet?
Avoid overcrowding by leaving one open strip of space on each shelf and using containers that fit the shelf depth. Keep duplicates to a minimum and put older items in front. If a shelf stops being readable, it already has too much on it.
What are the most space-efficient pantry staples?
The most space-efficient pantry staples are the ones that stack, seal, and get used in more than one dish. Dry foods in stackable containers, small jars, and flat packets usually take less room than mixed packaging. The best choices are the ones that fit the cabinet and fit the routine.
Drafted with AI; not yet reviewed by a person.