Last updated: November 19, 2026
Quick Answer: Use 3 to 5 zones, keep 2 to 4 inches (5 to 10 cm) of open space, and place older food in front. A small freezer fills up fast when you’re making low histamine meals, and the wrong layout buries safe food under loose bags. The fix is to split the freezer into zones, keep flat packs together, and leave air gaps so you can see and reach what you froze. This article explains How to Organize a Small Freezer for Low Histamine Meal Prep step by step.
Key Takeaways
- Give each shelf or basket one job before you add food.
- Use separate zones so each one holds one food type.
- Keep low histamine meals visible with flat packs, vertical stacking, and first in, first out rotation.
- Choose freezer containers that fit well; poor shapes waste space and hide labels.
The fastest way to set up a small freezer
A small freezer works best when you give every shelf or basket a job before you add food. Start with the items you need first, because low histamine meal prep depends on quick access, clear spacing, and steady rotation.
- Empty the freezer and clear one flat surface. Take everything out of the upright freezer or chest freezer and set it on the counter, table, or a clean cooler. You should be able to see every container, bag, and ice pack at once. If you still have frozen clumps hiding at the bottom, the layout was working against you.
- Group food by use, not by recipe name. Put proteins in one pile, cooked meals in another, vegetables in a third, and backup items like ice packs or broth cubes in a fourth. This keeps the next step simple, because each group can get a zone instead of random shelf space.
- Choose 3 to 5 freezer bins or basket dividers. In a small freezer, bins stop loose packages from sliding into dead corners. Use shallow bins if the freezer is narrow, and choose basket dividers only if the basket still closes without forcing it. When this works, every item sits in a visible row rather than a pile.
- Assign one meal prep zone per bin. For example, put “ready to heat” meals in the front, proteins in the middle, vegetables on one side, and ice packs or backup portions in the back. The result is simple: you can open the door and know where each group lives without moving three other items.
- Stack flat and leave a hand’s width of space. Lay bags or containers flat for the first freeze, then stack them upright only after they’re hard. Leave about 2 to 4 inches (5 to 10 cm) of open space at the top or front if the freezer has room. That space keeps air moving and makes labels easier to read.
- Place the oldest food where your hand lands first. Put older meals in front and newer meals behind them. That makes first in, first out happen naturally, so the oldest low histamine food is the easiest to grab.
Picture this: you open the door and can spot dinner in 3 seconds, not after a 10-minute dig. That’s the real goal. A small freezer is not about squeezing in the most food at any cost; it’s about making the right food easy to find when you need it.
What goes where in a small freezer?
A small freezer is easiest to use when each zone has one task and one type of food. That means you stop mixing long-term storage, short-term meals, and loose extras in the same spot.
Start with the foods you reach for most often. Keep ready-to-reheat meals in the most visible front zone, because these are the packages that get buried first. Put raw or pre-cooked proteins in one bin or basket divider group, and keep vegetables and sides in another so you are not sorting through mixed packages at dinner time.
For low histamine meal prep, this matters because freezer time is only half the job. The other half is reducing friction when you need a meal fast. If a container has to be pulled out, shifted, and restacked every time, the system fails in a week.
Use these simple zone labels on tape or masking labels:
- Front: meals for the next 3 to 5 days
- Middle: proteins and base ingredients
- Side bin: vegetables, fruit, or sauces that fit your plan
- Back or bottom: ice packs, extras, and backup portions
The shape of the freezer changes the layout. An upright freezer makes vertical stacking easy; a chest freezer gives you more depth but hides food faster. In a chest freezer, basket dividers matter more because they stop items from sinking under a pile. In an upright freezer, shallow bins and clear vertical rows usually work better.
One good rule keeps both styles honest: if you can’t point to a zone without moving something, the zone is too vague. Keep the system tight and the categories boring. That is what makes it usable on a Tuesday night.
How do I keep low histamine meals visible and reachable?
You keep low histamine meals visible and reachable by using flat packs, vertical stacking, and a first in, first out order. That sounds plain, but it’s the difference between a freezer that helps you and one that hides dinner.
Here’s the catch: small freezers fill up with awkward shapes. Round containers, tall tubs, and loose bags waste space fast. Flat freezing solves most of that problem. Freeze soup, sauce, cooked grains, or chopped vegetables in storage containers or freezer-safe bags laid flat first, then stand them up like files once they are solid.
Use this order:
- Freeze the package flat on a tray or shelf.
- Once frozen, stand it upright in a row.
- Put the newest food behind the older food.
- Keep one open slot for the next meal you prep.
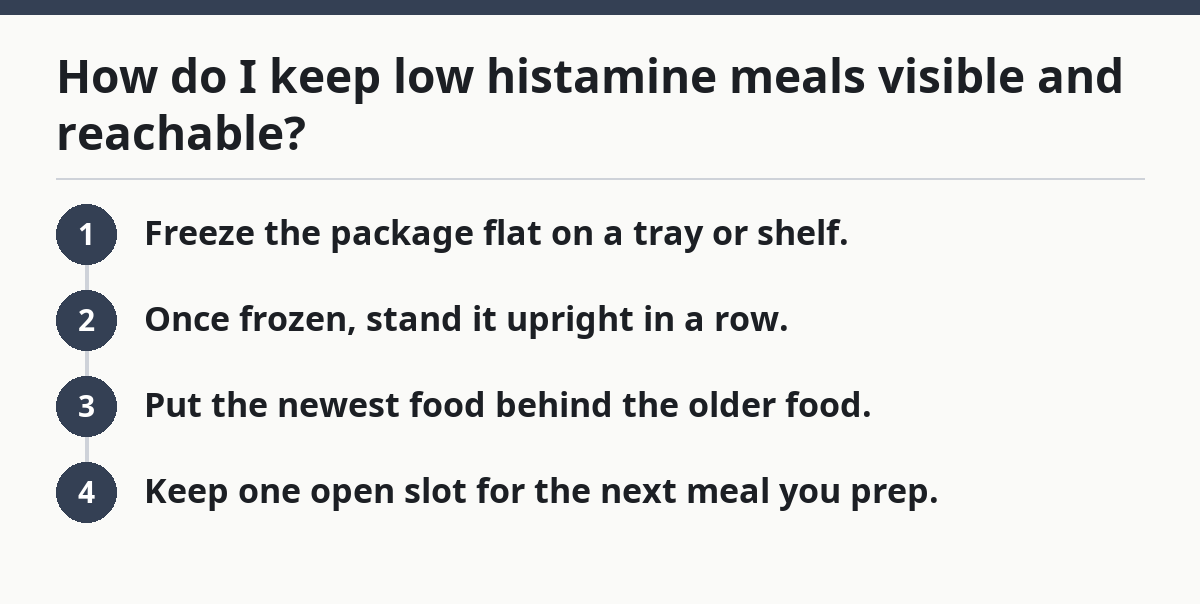
That open slot matters. Without it, the freezer becomes a packed wall, and every new container forces a reshuffle. A small freezer needs a little breathing room or it stops being organized.
If you use ice packs, keep them in one separate bin or side strip instead of scattered around the freezer. They are useful, but they steal prime space fast. Put them in the least accessible zone unless you need them every day.
A second trick is to match container shape to shelf shape. Long narrow containers work well in upright freezers because they line up with the shelf depth. In a chest freezer, wider flat storage containers can sit on top of each other without toppling. The goal is not perfect symmetry. It is fast access with the least digging.
Which freezer containers make the layout easier?
The right freezer containers make a small freezer easier to sort, but the wrong ones waste space and hide labels. Choose shapes that stack cleanly, close tightly, and fit the shelf depth you actually have.
A small freezer usually handles these better than bulky round tubs:
- Flat freezer bags for soups, sauces, and cooked vegetables
- Low-profile storage containers for meal portions
- Shallow boxes or bins for grouping similar items
- Ice packs kept in one narrow zone, not loose in the freezer
The point is not to buy more boxes. It is to reduce odd gaps. Round containers leave dead corners, and tall containers block the view of what sits behind them. In a small freezer, that turns into food waste fast.
Common allergens matter here too. If you freeze meals with dairy, egg, soy, wheat, peanuts, tree nuts, sesame, fish, or shellfish, keep those meals in their own marked bin if you share a freezer with other food. If you need a substitution, use a container system that keeps allergen-free meals separate rather than trying to “mix around” the problem. A shared freezer needs clean boundaries.
If you want to use freezer bins or basket dividers, pick the shallowest version that still holds your packages upright. Deep bins sound helpful, but they often hide the bottom layer. That is a bad trade in a small freezer.
The containers you choose affect the whole system. If the freezer only holds one kind of meal in each zone, the layout does half the work for you. That is the whole point of organizing for low histamine meal prep in a tight space.
Common small-freezer mistakes that waste space
The biggest mistakes are overfilling, mixing categories, and letting food stack so deep that nothing gets seen. Each one costs time, space, or food.
A packed freezer looks efficient for about a day. Then the front gets blocked, the oldest meal disappears behind newer bags, and you end up buying more than you need because you can’t see what you already have. That is not storage. That is a pile.
Watch for these common errors:
- No vertical stacking: flat items lie at angles and slide into gaps
- One giant bin: everything blends together and gets buried
- Too many airless packs: the freezer door shuts, but the layout is too tight to read
- Random ice packs: they take over space meant for meals
- No front zone: the items you need soon get shoved to the back
A useful fix is to leave at least one open lane from the door to the back or from the top row to the bottom layer, depending on the freezer style. That lane is how your hand reaches items without undoing the whole setup.
One more mistake shows up in low histamine meal prep: freezing too many “maybe” meals. If you cook a batch and then never label the contents clearly, the freezer becomes a memory test. I’m not covering the full inventory system here, but the rule still applies: if you can’t identify it quickly, it won’t get used quickly.
On the flip side, a freezer that is a little too open is usually better than one that is crammed. A small amount of visible space beats a dense wall of mystery containers every time.
Upright freezer or chest freezer: how the layout changes
An upright freezer works best with shelves, shallow bins, and vertical rows; a chest freezer works best with basket dividers and top-layer grouping. The shape of the freezer decides the shape of the system.
An upright freezer gives you shelves that behave like compartments. That makes it easier to create meal prep zones by shelf or by half-shelf. Use freezer bins to keep similar food together, and place the most used meals between eye level and waist level if the freezer is tall enough. That keeps the most-used food in easier reach.
A chest freezer has more hidden space, so basket dividers become more useful. They create lanes and reduce the “everything sinks to the bottom” problem. If the chest freezer is small, keep heavier items on the bottom and lighter, flatter meal packs on top. That way, the top layer still opens like a menu instead of a landfill.
The trade-off is simple. An upright freezer is easier to scan, but it may have less total usable depth. A chest freezer stores awkward shapes better, but it can bury food fast if you don’t control the layers.
Here’s the practical test: if you can reach the oldest meal in under a few seconds without moving unrelated food, the layout fits the freezer. If you have to empty half the unit to get there, the zones are wrong. A small freezer only works when the container shape matches the freezer shape and the food you use most sits in front.
This is also where the hub on low histamine freezer systems fits in. The bigger system lives there; this page is the small-space map that makes it usable.
How to keep the system working after the first reset
You keep the system working by putting new food into the same zone every time and doing a quick reset once a week. Without that, even a good small freezer drifts back into chaos.
Pick one short routine:
- Put new meals into the back of their zone.
- Pull older meals to the front.
- Return loose ice packs to their own bin.
- Re-stack any bag that has tipped sideways.
- Remove anything you won’t use in the next few days.
That takes a few minutes, not an afternoon. The point is not perfection. The point is stopping the pile before it starts.
If you prep low histamine meals in batches, keep the same zone names every time. Don’t switch “protein” to “dinner” one week and “backup” the next. The labels should mean the same thing each time you open the door.
A small freezer also benefits from a hard stop: once a zone is full, don’t jam in a fifth layer just because it fits. Move something, eat something, or freeze less next time. That rule protects the whole setup.
FAQ
How do I fit more food in a small freezer?
You fit more food in a small freezer by flattening packages, stacking them upright after they freeze, and using shallow bins instead of deep ones. Keep the most-used meals in front and the backup items in the least reachable spot. If the layout is full but hard to read, it is already too full.
What is the right layout for freezer organization?
The right layout for freezer organization is the one that gives each food group one zone and leaves a clear path to the front. In an upright freezer, that usually means shelf-based rows with bins. In a chest freezer, basket dividers and flat top layers work better because they stop food from sinking out of sight.
How do I stop freezer meals from getting buried?
You stop freezer meals from getting buried by putting older meals in front, newer meals behind them, and keeping only one category in each bin or shelf zone. A small weekly reset helps too. If you can’t see the package without moving other food, it needs to be moved forward.
Drafted with AI; not yet reviewed by a person.